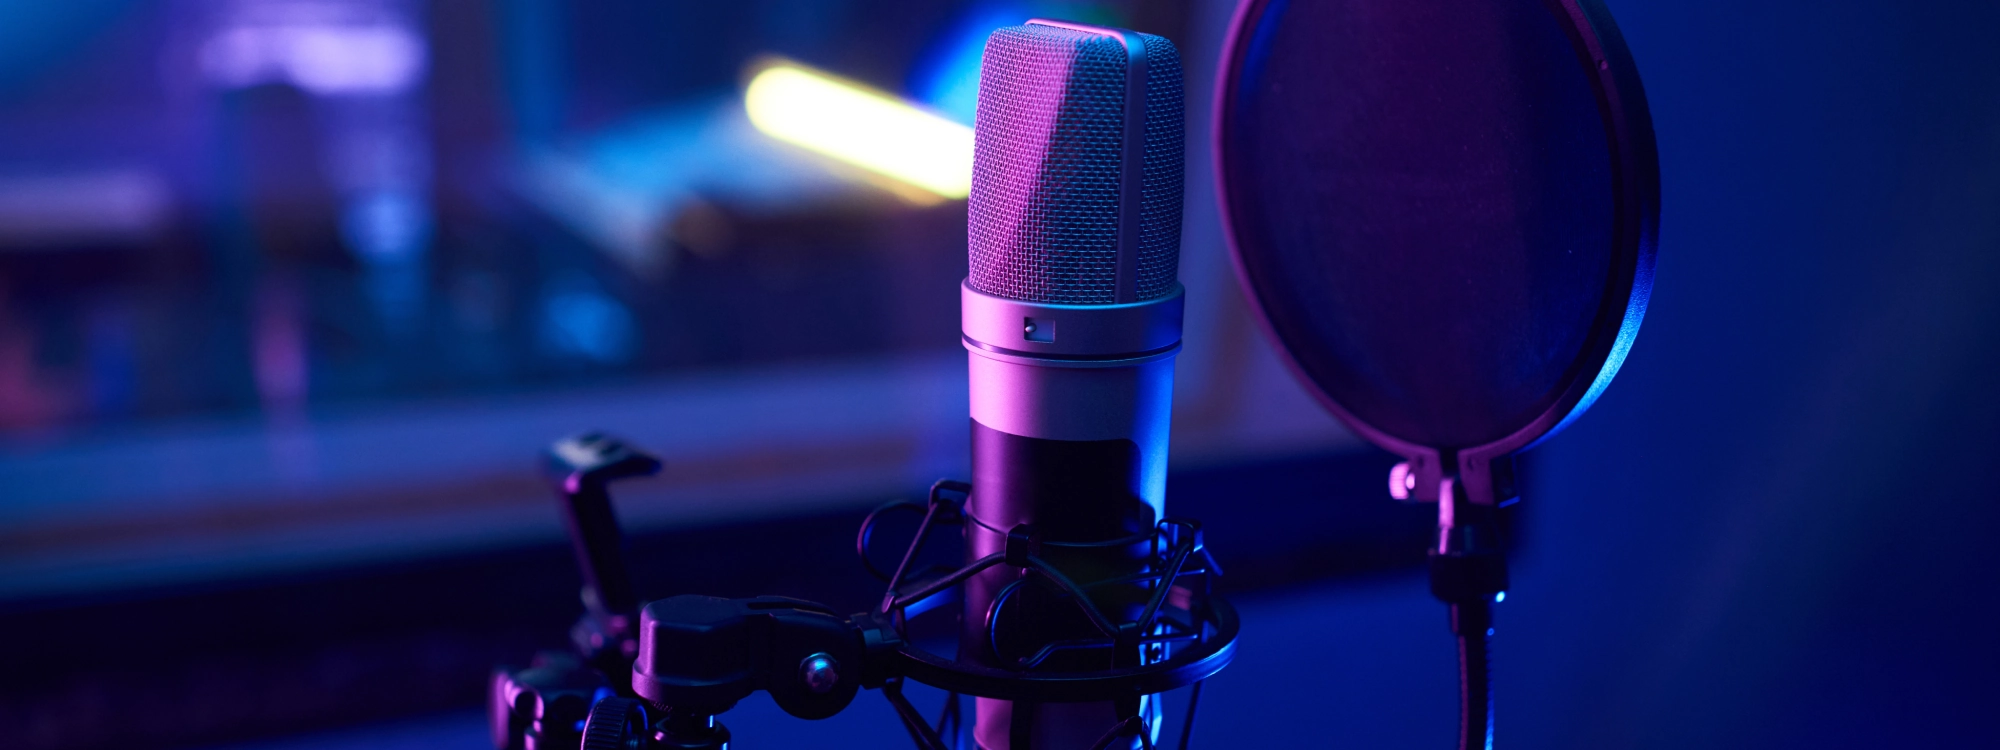
The microphone captures your voice. Everything downstream—every plugin you own, every mixing technique you master—starts with what that microphone records. Get this stage wrong and no amount of processing fixes it. Get it right and mixing becomes straightforward because you're working with quality source material.
Most recording tutorials overwhelm you with dozens of variables you should supposedly consider when recording vocals. The truth is simpler. Five fundamental techniques determine whether your vocal recordings sound professional or amateur. Master these approaches and your recordings will immediately compete with expensive studio work.
Find Your Distance Sweet Spot
The distance between your mouth and the microphone capsule might be the single most important technical decision you make during vocal recording. This one variable affects tone, presence, low-frequency content, and how effectively your recording translates across different playback systems.
Directional microphones exhibit something called proximity effect. As you move closer to the microphone, low frequencies become artificially boosted. At six inches, you hear noticeable bass boost. At three inches, you hear dramatic low-frequency emphasis that makes vocals sound boomy and unnatural. At one inch, the proximity effect becomes so pronounced that the recording sounds nothing like your actual voice.
The professional starting point is six to eight inches from the microphone capsule for balanced, natural vocal tone. This distance provides intimacy and presence without the artificial low-frequency buildup that proximity effect creates. Your voice sounds like your voice, not a bass-heavy caricature.
Use your hand as a rough measurement tool. Make a fist and extend it toward the microphone. The distance from your elbow to your knuckles approximates six to eight inches for most people. The pop filter creates another visual guide—mount it two to three inches in front of the microphone, then position yourself behind it at comfortable speaking distance.
Professional vocalists don't maintain perfectly static distance throughout performances. They move slightly closer during intimate, quiet passages to maintain proximity and presence. They pull back during loud, powerful moments to prevent microphone overload and reduce proximity effect. This creates natural-sounding dynamics where volume changes feel organic rather than mechanical.
Master On-Axis and Off-Axis Positioning
Microphones have directionality, meaning they respond differently to sound arriving from different angles. Understanding and controlling this directionality gives you powerful tonal control without ever reaching for an equalizer.
Every microphone has a polar pattern that describes which directions it captures sound from. Cardioid patterns, the most common for vocal recording, capture sound primarily from the front while rejecting sound from the rear and sides. The "front" of the microphone is called on-axis, and sound arriving directly on-axis receives the flattest, most accurate frequency response the microphone can provide.
For most vocal recording, you want to sing directly into the microphone capsule at zero degrees off-axis. Large-diaphragm condenser microphones typically have the capsule positioned behind a grille on the front of the microphone. You sing into this front surface from directly ahead. The mic should align with your mouth at the same height—not pointing down at you or up at you, but straight across at mouth level.
When vocals sound too bright or harsh even at proper distance, try working slightly off-axis instead of immediately reaching for EQ. Turn your body fifteen to thirty degrees to the side so you're singing across the face of the microphone rather than directly into it. This naturally rolls off high frequencies, creating a darker, smoother tone.
Here's a specific application that solves a common problem: when you reach sibilant consonants like S, SH, T, and CH in lyrics, these sounds create harsh high-frequency energy. You can reduce this harshness during recording by turning slightly off-axis specifically during sibilant sounds. Record your main performance on-axis as normal, then turn your head twenty to thirty degrees to the side when hitting those harsh consonants. This creates targeted natural de-essing at the most problematic moments while maintaining bright, present tone for the rest of the vocal.
Choose the Right Polar Pattern
If your microphone offers multiple polar patterns, you have access to powerful creative options that change how your recordings sound and how much of your room they capture.
Cardioid pattern captures sound primarily from the front, with significant rejection from the rear and sides. This focuses on your voice while minimizing room sound. Use cardioid pattern for almost all home studio vocal recording. The rejection of rear and side sound minimizes room reflections, computer noise, traffic, and all the other unwanted sounds that plague untreated recording spaces.
Omnidirectional pattern captures sound equally from all directions. The microphone hears everything around it with no particular front or back. This eliminates proximity effect entirely and provides the most natural, uncolored frequency response. If you record in a genuinely good-sounding, properly treated room, omnidirectional pattern captures the most natural, transparent vocal tone possible.
The major downside is that omnidirectional captures everything. Your room sound becomes a significant part of the recording. Computer fan noise, street traffic, household sounds, and room reflections all appear prominently in omnidirectional recordings. Use this pattern only when you have excellent acoustic control of your recording environment.
Figure-eight pattern captures sound from the front and rear while rejecting sound from the sides. This creates two opposing lobes of sensitivity. The side rejection is even stronger than cardioid, making figure-eight valuable when you need to reject sound coming from specific directions. If your computer sits to the side of your recording position and fan noise is a problem, figure-eight provides better rejection of that off-axis sound.
Understand What Reflection Filters Actually Do
Walk into any music store and you'll see reflection filters marketed as essential tools that magically transform bad rooms into professional recording booths. The reality is more complicated. These devices provide some benefit in specific situations but cannot fix fundamentally bad acoustic environments.
Reflection filters are curved panels of acoustic foam that mount behind your microphone. The theory is that they absorb early reflections that would otherwise bounce off the wall behind the microphone. In this specific, limited role, reflection filters work. They do reduce the first reflection from the wall directly behind the microphone.
The marketing claims suggest reflection filters create professional isolation comparable to vocal booths. This is false. Reflection filters do nothing for reflections coming from the sides, ceiling, floor, or behind the vocalist. They provide no isolation from external noise.
Reflection filters work best in small rooms where the rear wall sits very close to the microphone, within two or three feet. At these short distances, early reflections arrive back at the microphone quickly enough to create noticeable comb filtering. The filter prevents this specific problem. In larger rooms where walls sit ten or more feet away, reflection filters provide minimal benefit.
If you have three hundred dollars to spend on acoustic improvement, skip the reflection filter and invest in actual acoustic treatment. Purchase twelve to sixteen acoustic panels and mount them at first reflection points on your walls and ceiling. This treats your entire room rather than just one reflection point behind the microphone.
Use Pop Filters Correctly
Pop filters seem like simple accessories, but proper use of this basic tool separates professional recordings from amateur work.
Plosive consonants—specifically P, B, and T—create bursts of air expelled from your mouth as you speak or sing those sounds. This moving air hits the microphone diaphragm directly, creating low-frequency thumps and distortion that cannot be removed during mixing. The problem is mechanical, not acoustic, so no amount of EQ or filtering fixes it after recording.
Pop filters use fine mesh material stretched across a frame. When your blast of plosive air hits the mesh, it disperses the moving air across a wide surface area. The sudden impulse becomes a gradual pressure change that the microphone handles cleanly.
Mount your pop filter two to three inches in front of the microphone capsule. This distance provides enough space for air dispersion to work effectively while keeping the filter close enough that vocalists naturally position themselves correctly. The pop filter should be perpendicular to the imaginary line between your mouth and the microphone, not angled or tilted.
You position yourself behind the pop filter at comfortable speaking distance, naturally creating the six to eight inch distance from the microphone that we discussed as optimal. The pop filter becomes a visual guide for proper positioning without requiring conscious measurement.
Even with proper pop filter use, some vocalists produce such strong plosives that protection isn't adequate. If you're still getting pops and thumps despite using a good pop filter correctly, try the off-axis technique for plosive consonants specifically. When you reach a P, B, or T sound, turn your head thirty degrees to the side so the plosive air shoots past the microphone rather than into it.
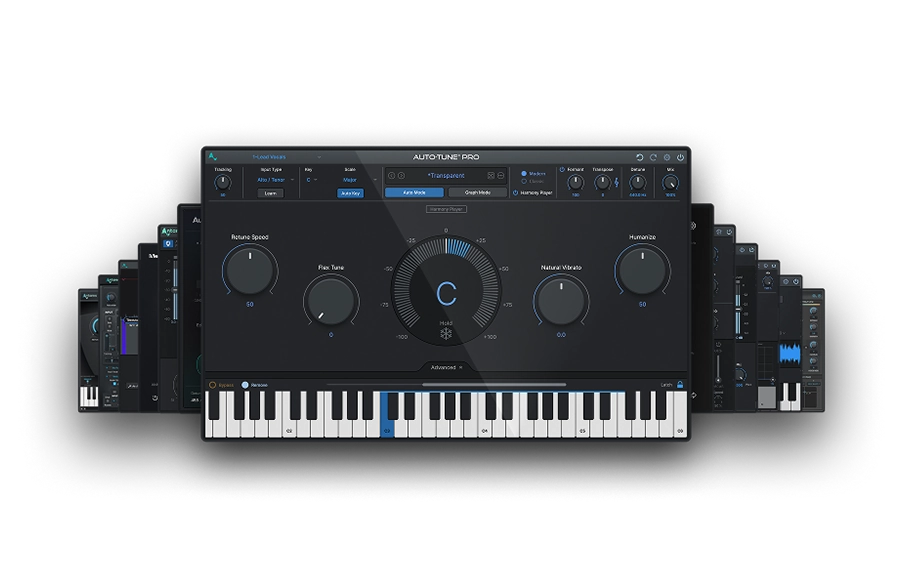
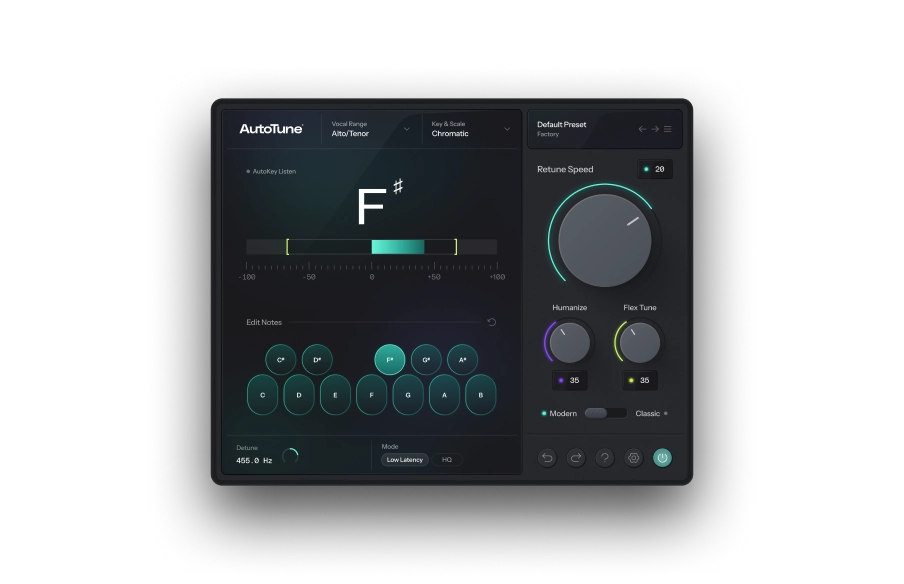
Integrate These Techniques with AutoTune
Recording technique provides the foundation. AutoTune Unlimited provides the professional processing that transforms even well-recorded raw vocals into commercial-quality finished products.
When you apply proper microphone technique—capturing balanced tone at appropriate distance with controlled room sound and no plosive thumps—you provide AutoTune with ideal source material. The pitch detection algorithm works most accurately when given clean audio with strong fundamental frequency and minimal interference.
Even with excellent microphone technique in optimized positions, home studios capture some background noise. Computer fans run. Traffic passes outside. Vocal Prep uses AI-powered noise reduction to remove these remaining issues without affecting vocal tone. This creates a workflow where you focus on microphone technique during recording to capture the best possible source, then use Vocal Prep to clean up the minor issues that proper technique can't completely eliminate.
After recording with proper technique and cleaning with Vocal Prep, you build the complete professional vocal chain. Vocal EQ shapes tone with AI-powered learning and pitch-tracking technology. Vocal Compressor controls dynamics with machine learning assist that recommends optimal settings. Vocal De-Esser handles sibilance that off-axis technique reduced but didn't eliminate completely. Vocal Reverb adds space and dimension with Auto-EQ that prevents muddiness.
Your Path to Professional Vocal Recording
These five microphone techniques require no expensive gear or complicated theory. They demand only understanding and discipline. Position yourself six to eight inches from the microphone for balanced tone without excessive proximity effect. Work on-axis for designed frequency response or slightly off-axis for natural tonal control. Choose appropriate polar patterns for your room and situation. Use pop filters correctly positioned to prevent plosive problems. Understand what reflection filters can and cannot do.
Master these fundamentals and your recordings will immediately sound more professional. Combined with AutoTune Unlimited's complete vocal processing suite, you have everything needed to create commercial-quality vocals in your home studio.
Try AutoTune Unlimited free for 14 days and discover how professional recording technique combined with AI-powered vocal processing transforms your music.
AutoTune Unlimited
The Ultimate Vocal Production Suite

Exclusive AutoTune Content
Related Articles:

AutoTune 2026

AutoTune Unlimited
AutoTune 2026 and Metamorph
Now Included

Written by: Mike McMillen
Marketing Manager at AutoTune
LinkedIn
Mike has 10+ years of experience in the audio tech industry, having previously worked on globally-recognized brands such as Alesis and M-Audio. Prior to his marketing career, Mike traveled the globe as a guitarist for various punk rock and hardcore bands and also worked as an audio engineer on releases from Big D and the Kids Table, A Loss for Words, and more.