You've got a fire chorus. The lead vocal is there. But the backing vocals feel thin, the harmonies aren't sitting right, and every free tool you've tried has left you with something that sounds generic at best and broken at worst.
Here's the problem: most free, third-party AI tools offer you a suggestion, not a solution. When you're dealing with complex vocal arrangements like doubles, tight harmonies, or layers on layers on layers, generic single-button AI falls apart. You lose the one thing that separates a demo from a record: total control.
The pros know this. That's why when the stakes are high, they rely on AutoTune. Here's exactly how pros build vocal stacks that cut through the mix every time.
Why Your Backing Vocals Aren't Working Yet
Before getting into the workflow, it's worth understanding why most backing vocal attempts fall apart.
Every voice you add to a mix introduces new frequencies, new pitch relationships, and new dynamic variables. Add harmonies to a lead vocal that isn't locked in, and they make the problem worse, not better. Add processing to a stack that isn't balanced, and you're polishing something that was broken before you started.
The workflow below solves these problems in the right order. Follow it from the top and your backing vocals will sit in the mix the way they're supposed to: supporting the lead, adding depth, and making the whole track feel bigger without calling attention to themselves.
Step by Step: Building a Vocal Stack With AutoTune Unlimited
Step 1: Lock In Your Lead Vocal With AutoTune 2026
Everything starts with your lead. Before you add a single harmony or effect, your lead vocal needs to be tight, clean, and in pitch. That's the job of AutoTune 2026.
Think of AutoTune 2026 as the foundation of your house. If the foundation isn't solid, nothing built on top of it will hold up.
How to set it up:
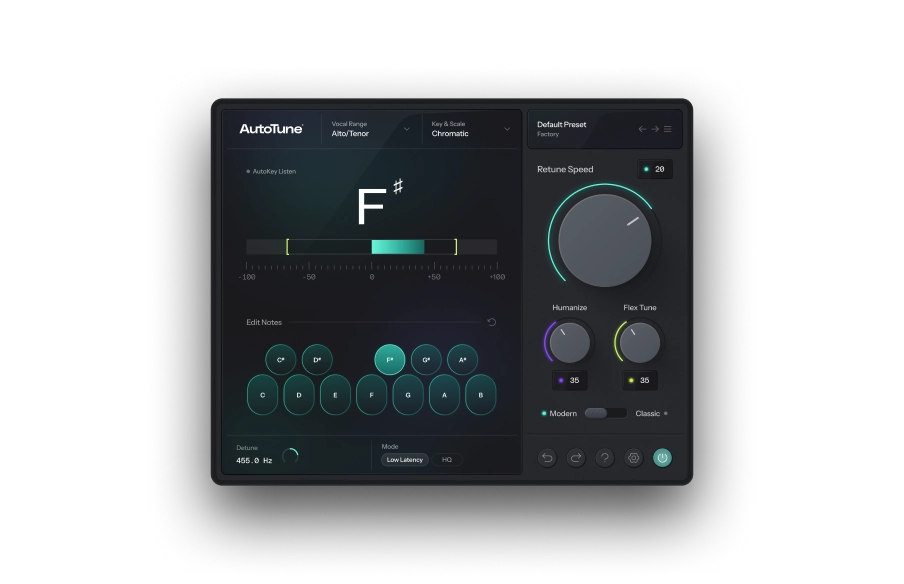
Open AutoTune 2026 on your lead vocal track in your DAW. Start by setting your Key and Scale to match your song. This tells AutoTune which notes are correct for your track, so it knows exactly where to snap your vocal.
Next, dial in your Retune Speed. This is the most important setting in the plugin. It controls how fast AutoTune corrects pitch, measured in milliseconds.
For a natural, transparent sound that listeners won't notice, set Retune Speed between 20 and 40 ms. The correction happens gradually, cleaning up pitch issues while preserving the natural feel of the performance.
If you want that classic, hard-tuned effect popularized by T-Pain and Kanye West's 808s and Heartbreak, pull Retune Speed down to 0 to 5 ms. At zero, the correction is instant, giving you that iconic stepped, robotic quality.
Not sure which direction to go? Start at 20 ms, listen back, and adjust from there. Your ears will tell you what the song needs.
Once your lead is locked in and sitting confidently in the track, you're ready to build around it.
Step 2: Build Your Harmonies With Harmony Engine
A great lead vocal is one voice. A great vocal stack is many voices working together. That's where Harmony Engine comes in, and it's where your mix goes from flat to full.
Harmony Engine generates harmonies directly from your lead vocal performance. Instead of recording additional takes or hiring background singers, it analyzes your lead and creates musically accurate harmony parts in real time. Think of it as your personal backing vocal section, available whenever you need it.
How to set it up:
Load Harmony Engine on a new track or as an insert after your lead vocal. The plugin will automatically detect the pitch of your lead and use it as the source for generating harmonies.
Start simple. A single harmony a third above your lead is one of the most common and effective choices in pop, R&B, and hip-hop production. It adds warmth and width without cluttering the mix.
From there, experiment. Add a harmony a fifth above for a bigger, more cinematic sound. Add one a third below for a deeper, fuller texture. Harmony Engine lets you stack up to four voices, so you can build anywhere from a subtle double to a full four-part arrangement.
Two things to pay close attention to as you build: first, match the Key and Scale settings in Harmony Engine to whatever you set in AutoTune 2026. This keeps everything musically consistent. Second, pull the volume of your harmonies back in the mix. Harmonies should support the lead, not compete with it. A good rule of thumb for beginners is to start your harmony faders around 6 dB lower than your lead and adjust from there.
With a locked lead and a full set of harmonies, there's one final step between you and a release-ready stack.
Level Up: Use Metamorph to transform your voice even further. Watch how here.
Step 3: Polish the Whole Stack With the AI-Powered Vocal Chain
Having great performances and great harmonies is not enough on its own. Everything needs to sit together in the mix as one cohesive sound. That's what the AI-Powered Vocal Chain is built to do.
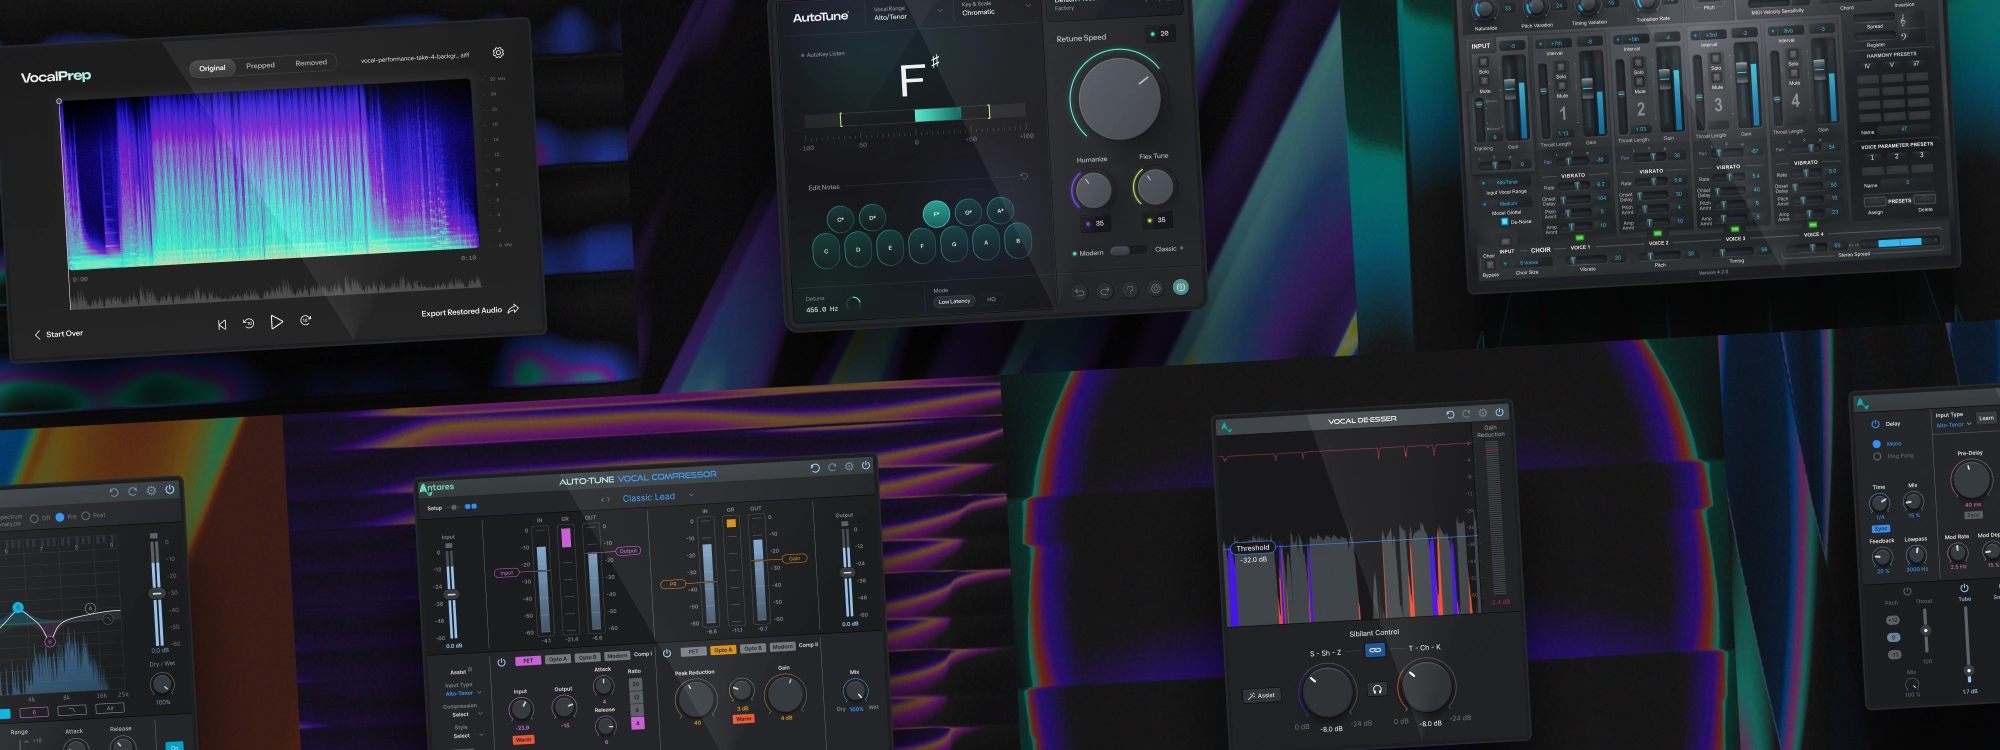
The AI-Powered Vocal Chain is a suite of five plugins, each tackling a specific part of the mixing process: Vocal Prep, Vocal EQ, Vocal Compressor, Vocal De-Esser, and Vocal Reverb. Together, they handle the technical decisions that would otherwise take years of experience to master. Here's what each one does and how to use it.
Vocal Prep: Start here, before anything else in your DAW. Vocal Prep uses AI to remove background noise, hum, and room sound from your raw recordings. If you recorded in a bedroom or home studio, this step alone will make a dramatic difference in how professional your vocals sound. Run your files through Vocal Prep as a standalone app, drag in the file, click Clean Up, and export a clean version before you do anything else.
Vocal EQ: EQ shapes the tonal balance of your voice. Too much low-end makes a vocal sound muddy. Too much high-end makes it harsh and fatiguing. Vocal EQ was built specifically for the human voice, and its Learn function listens to your recording and sets an optimal EQ curve tailored to your specific voice. Hit the button, let it analyze, and you have professional EQ settings in seconds.
Vocal Compressor: Compression evens out the volume of your vocal so quiet moments stay audible and loud moments don't overwhelm the mix. For beginners, use the AI Assist button. It analyzes your vocal and recommends the right settings for your specific recording. Start with the Controlled preset for a polished, broadcast-ready sound.
Vocal De-Esser: Sibilance is the sharp, piercing quality of "S" and "T" sounds that becomes especially noticeable through headphones, which is exactly how most people listen to music today. The De-Esser catches these frequencies and gently reduces them without affecting the rest of your voice. Use the Assist button to let the plugin set optimal thresholds automatically.
Vocal Reverb: Reverb adds space and dimension to your vocals, making them feel like they exist in a real environment rather than a flat, dry recording. A small room reverb adds warmth without pushing the vocal back in the mix. A larger hall reverb creates a more dramatic, atmospheric sound. Start subtle and increase until the vocal feels natural within the track.
Apply this chain to your lead vocal first. Then process your harmonies individually, or use a shared bus to apply consistent polish across the whole stack at once.
The Full Workflow at a Glance
- Vocal Prep (standalone, before your DAW): Run your raw recordings through Vocal Prep to remove background noise before anything else touches them.
- AutoTune 2026: Load it on your lead vocal. Set your Key and Scale, dial in your Retune Speed, and get your lead sounding locked and clean.
- Harmony Engine: Build your harmonies. Start with a third above, balance the levels, and stack additional voices as needed.
- AI-Powered Vocal Chain: Apply it to polish the full stack. Use the Assist and Learn functions on each plugin to let the AI set your starting points, then adjust by ear.
- Full mix check: Listen to everything in context. The lead should sit front and center. The harmonies should add depth without pulling focus. Everything should feel cohesive, controlled, and ready for release.
Stop Settling for Thin
The difference between a track that sounds like everyone else's and one that sounds like yours is control. Free AI tools take that away from you. AutoTune Unlimited gives it back.
Every tool in this workflow is included with a single AutoTune Unlimited subscription. No piecing together plugins from different developers. No guessing at settings with no guidance. Just the complete professional vocal chain, ready the moment you subscribe.
Get AutoTune Unlimited and start building the vocal stack your track deserves.

AutoTune Unlimited
The Ultimate Vocal Production Suite

Exclusive AutoTune Content

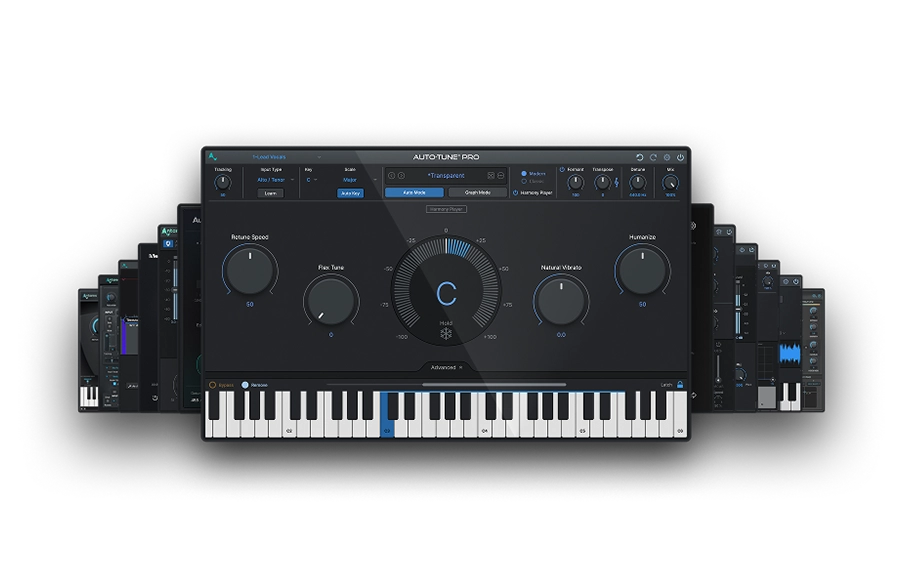
AutoTune 2026

AutoTune Unlimited
AutoTune 2026 and Metamorph
Now Included

Antares Editorial
Antares is a leading developer of software for music recording and live performance. For over 20 years, Antares has powered the music of top-charting and indie artists with products including the industry standard for pitch correction, AutoTune™.