
There's no way around it: if you want to make your music sound professional, you need to learn how to use a compressor. This is one of those unmissable tools in the audio engineers' arsenal, and it is so versatile that it can be used to both mix and master music, as well as to give a particular color to your recordings.
Because of its versatility, producers are often confused about what a compressor does and how it can be used to improve the quality of music.
Today we'll look into how compression can revolutionize how your mix sounds and what you should do to make your track ready for streaming and publication.
What is Compression?

Compression is an effect that allows you to reduce the dynamic range of a track. This industry-standard procedure ensures the song sounds perfect on all streaming platforms and playback devices.
Simply put, compression reduces the dynamics of a signal by making the loudest parts quieter and the quietest parts louder. The result is that the difference in volume between the various elements and components of a song will be less evident after applying compression.
Purpose of Compression in Music Mixing

By decreasing the difference between the loudest and quietest parts of a track, compression makes a song more cohesive and pleasant, in which you can hear the subtle guitar fingerpicking even when the drums are having at it. The result is a song that sounds consistent throughout, with the loudest parts smoothened and the quietest ones enhanced so that every element of your music is distinguishable.
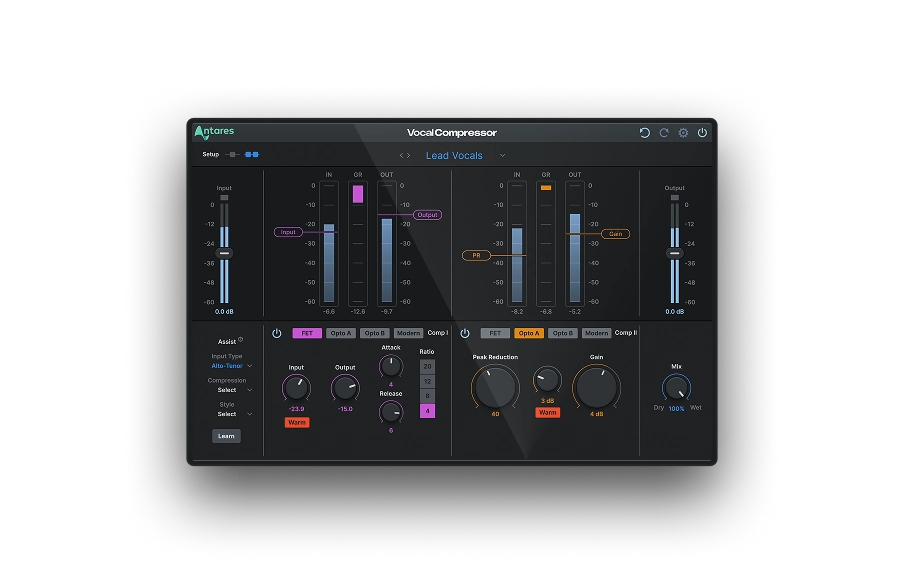
Compression can also be used to give defined sonic characteristics to your mix. Especially with analog compressors, or plugins such as our Auto-Tune Vocal Compressor, you can adjust the tonal changes of your audio and create your signature sound.
Some compression will make your track sound clearer and more natural if you're recording with a microphone. When placed close to the sound source, microphones tend to capture lower frequencies better than higher ones, and the uncompressed track might sound unnatural. The solution is to apply two types of gain reduction to the track: one that affects short-term transient spikes and the other that gives a gradual gain reduction to medium-longer periods.
By compressing multiple signals together, you effectively glue them together, making them sound like a single sonic element. If you want to make your whole song sound coherent and pleasant to the ear, gently apply the same compression to all the aspects of your music. If you've never done that before, the result might leave you speechless, as your track's quality will improve drastically.
Sidechain compression is another way to use this versatile tool to improve your songs. Simply put, a signal with sidechain compression will adjust according to another signal's output, preventing masking and making the main elements of your track truly stand out.
How Does Compression Work?
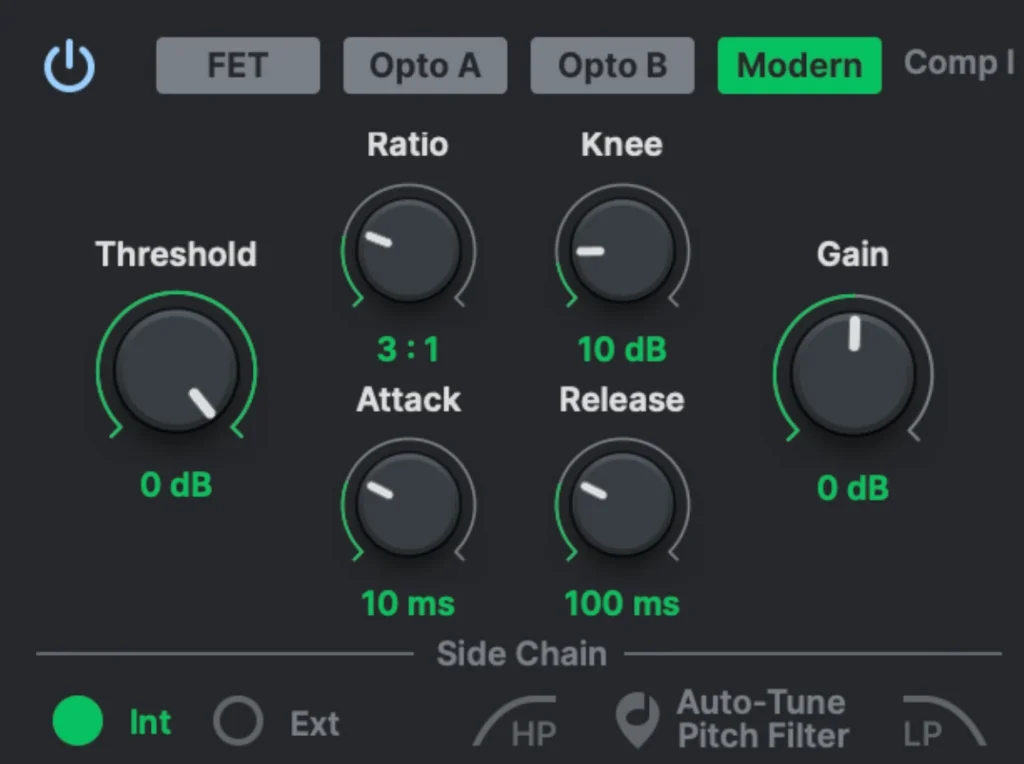
Threshold
The threshold is the level where the compressor starts affecting your track's signal. For instance, if you set the threshold high, the compressor will only affect the loudest transients of your signal and leave all the other elements untouched. The lower the threshold, the more affected by the compression your song will be.
The optimal threshold level depends on what kind of sound you aim to achieve and the genre you're working on. There's no one-size-fits-all threshold level, I'm afraid.
Ratio
The ratio level is strictly connected to the threshold, as it defines how much the signal is affected once it trespasses the chosen threshold.
The ratio is calculated in comparison to the unaffected signal. For instance, a 1:1 ratio means the signal remains untouched by compression, while a 2:1 ratio means all sounds above the threshold will be squashed to half the unaffected signal's dB level.
Attack
Adjusting the attack settings allows you to control how fast the compression reacts when a signal exceeds the threshold. A fast attack will affect the highest volume peaks, while a longer attack will leave the transients untouched and affect only the sounds that follow. Just like the release settings, the attack is measured in ms.
Release
The release setting controls how long the compression affects the sound after it goes below the threshold once again. A fast release can add a pumping rhythm to your song and make it more engaging; however, it can also make it sound unnatural if not used carefully. On the other hand, a slower release can provide a more subtle effect but can also negatively affect the attack time and transients.
Gain
Since we're reducing the volume of the highest peaks with the compression, we can now increase the volume of our track with the gain.
After you adjust all the settings of your compression, chances are you'll find yourself with a quieter track than the uncompressed one. That's why we use output gain (or "make-up gain") to compensate for the loss of loudness.
Use this setting to increase the volume output until it's at the same level as your input, or even higher, if you want your song to sound louder, but make sure you won't cause unwanted distortion in your mix.
Common Compression Types
There are five types of audio compressors, and they all have their own unique sonic characteristics. Although we'll analyze the analog compressors, compressor plugins are based on their analog counterparts, faithfully replicating the sound of vintage hardware.
Tube Compressors are known for adding an unmistakable color to the mix, enriching your audio, and making it sound more authentic. These compressors have slower attack times and little impact on transients, making them ideal for mix buses and final adjustments to the overall track's sound.
Optical Compressors use a light-sensitive resistor to determine how much gain reduction is required. Here you'll see the light responding to the input signal: the louder the signal, the brighter the light, and the more compression gets applied accordingly. Optical compressors are known for gluing everything together, so if you're looking for a smooth, subtle compressor, this might be the best option.
FET (Field Effect Transistor) Compressors are the polar opposite of optical compressors: they provide fast and aggressive compression with lightning-speed attack and release time. The FET Compressors are ideal for drums, guitars, and vocals, as they add unique sonic characteristics while enhancing the bright sound of the instruments.
VCA (Voltage-Controlled Amplifier) Compressors are perhaps the most common compressors thanks to their reliability and intuitive parameters. In these compressors, the gain reduction is monitored by a control signal, and each setting has its own control knob: ratio, threshold, attack, release, and make-up gain.
PWM (Pulse Width Modulation) Compressors control the average amplitude through high-frequency pulse signals that monitor the audio levels hundreds of thousands of times per second. This allows the PWM to give a subtle, transparent compression without sudden changes in the signal.
Final Thoughts
Compression is a multi-faceted effect: it can be aggressive or delicate, diffused or concentrated, used to enhance the characteristics of your sound, or add new colors to your sonic palette. Whichever reason you want to use compression, ensure you have a clear idea of the sound you want to achieve. As you learn more about compression, you'll notice the subtle differences between each type of compressor and how they affect your music. Explore the many ways of using compression with Auto-Tune Vocal Compressor; the only dual-stage compressor plug-in in the world!
Keep an open mind and never stop experimenting. Good luck!

Vocal Compressor
Dual-Stage
AI-Powered Vocal Compression

Exclusive AutoTune Content
Vocal Compressor

AutoTune Unlimited
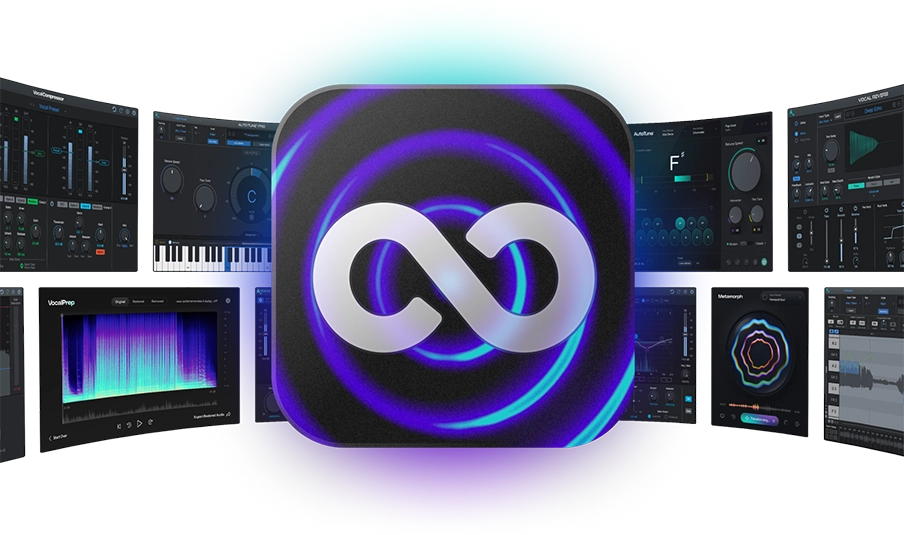
AutoTune 2026 and Metamorph
Now Included

Antares Editorial
Antares is a leading developer of software for music recording and live performance. For over 20 years, Antares has powered the music of top-charting and indie artists with products including the industry standard for pitch correction, AutoTune™.