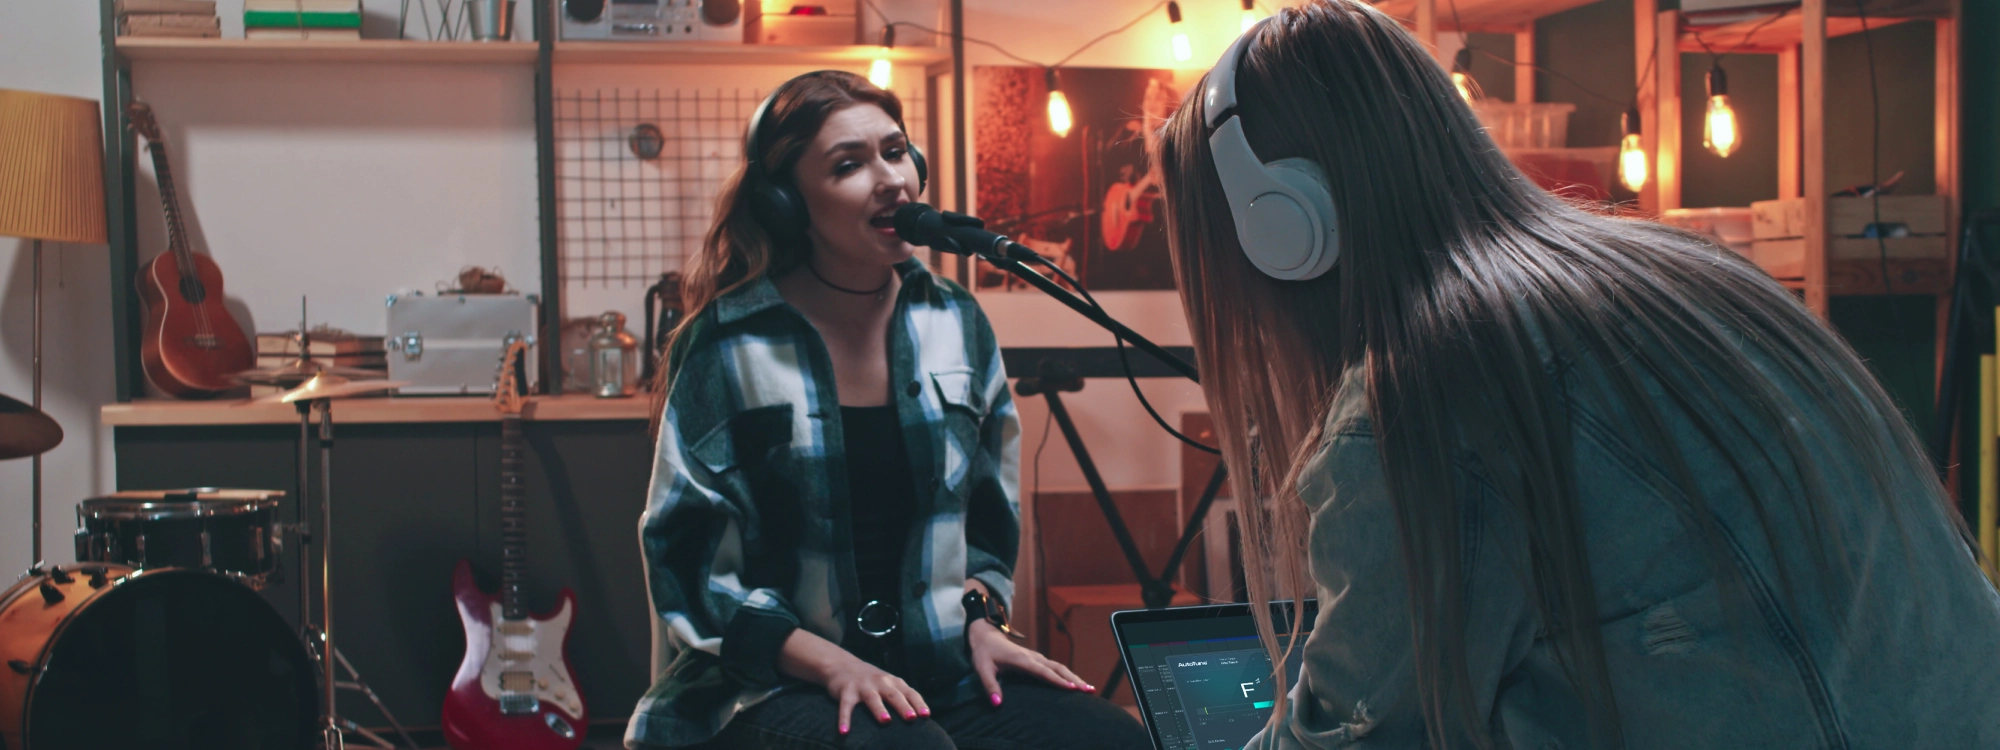
You don't have a professional recording studio. Your room has bare walls, hard floors, and parallel surfaces that create acoustic problems. Acoustic treatment costs thousands of dollars you don't have. Does this mean you can't record professional-quality vocals?
The answer is no. Untreated rooms create challenges, but strategic technique combined with modern AI-powered processing creates exceptional vocal recordings despite acoustic limitations. Thousands of commercially released tracks were recorded in bedrooms, closets, and makeshift home studios with minimal or no formal acoustic treatment.
Understanding What Untreated Rooms Do to Your Sound
Before solving problems, you need to understand exactly what goes wrong when recording in acoustically compromised spaces. Untreated rooms create several distinct issues that affect your vocal recordings.
Parallel walls facing each other with no absorption create flutter echo, a rapid series of reflections that bounce back and forth between the walls. This sounds like a metallic ringing that follows your voice, particularly noticeable on percussive consonants. Slap-back delay is a single strong reflection returning from a wall with enough delay that you hear it as a distinct repeat rather than general room ambience.
Low frequencies accumulate in room corners and between parallel walls, creating areas of boosted bass and areas where bass is canceled. When you record in locations where standing waves accumulate, your vocals sound boomy and uneven. Certain notes have exaggerated low-end while other notes sound thin.
Every surface near your recording position reflects sound back to the microphone within the first fifty milliseconds. These early reflections add reverb and coloration that you can't remove once recorded. In treated studios, carefully controlled early reflections create pleasant room sound. In untreated rooms, uncontrolled early reflections create obviously bedroom-quality sound.
Strategic Positioning to Minimize Room Problems
You can't change your room's dimensions or build isolation barriers, but you can position yourself and your equipment strategically to minimize the impact of acoustic problems.
Record as close to room center as practically possible. Position yourself at least four feet from any wall if your room size allows. This delays early reflections enough that they arrive more spread out in time, creating a more diffuse room sound rather than distinct slap-back delays. The center of the room is also where standing waves have the least impact.
If you can't position in room center, optimize the triangle relationship between your position, the microphone, and the nearest wall. Position your microphone at least three feet from the nearest wall. Position yourself so you face away from the nearest wall, putting the wall behind the microphone. This ensures the strongest early reflection arrives from behind the capsule where cardioid pattern rejects it most effectively.
The ideal vertical position is roughly mid-height in your room. If your room has an eight-foot ceiling, position your microphone and yourself around four feet off the floor. This maximizes distance to both floor and ceiling, spreading out reflection arrival times and reducing their impact.
Walk-in closets filled with hanging clothes create surprisingly effective temporary vocal booths. The clothing acts as irregular, distributed absorption that breaks up reflections and reduces flutter echo. Position yourself in the doorway of the closet facing inward. The clothes behind the microphone provide absorption while the opening behind you prevents the space from becoming too dead.
DIY Acoustic Treatment on Minimal Budget
Professional acoustic treatment costs thousands, but strategic DIY approaches solve the most critical problems for under one hundred dollars if you're willing to invest a day of effort.
Hardware stores sell moving blankets for ten to twenty dollars each. You need coverage for approximately thirty to forty percent of your wall surface to hear significant improvement. This typically means four to six large blankets in an average bedroom. Hang these materials on the walls adjacent to your recording position and on the wall behind the microphone. Use Command strips or nails to mount them with slight airspace behind them rather than pressed flat against the wall.
Position an old mattress against the wall behind your microphone. The thick, porous material absorbs reflections effectively across a wide frequency range, functioning as a giant bass trap and broadband absorber. This looks ridiculous but works remarkably well.
Bookshelves filled with books of different sizes create highly effective diffusion for zero additional cost if you already own books. Position a bookshelf on the wall behind your microphone or on a side wall near your recording position. The irregular surface of book spines creates diffusion that breaks up coherent reflections.
Stacked pillows or couch cushions placed in room corners provide measurable low-frequency absorption. The material needs depth and density to affect low frequencies. Stack four to six bed pillows or couch cushions in a floor-to-ceiling column in room corners to trap and absorb low-frequency energy.
Recording Techniques That Minimize Room Capture
Beyond positioning and basic treatment, specific recording approaches reduce how much room sound your microphone captures relative to your direct vocal sound.
In particularly bad acoustic spaces, recording at four to six inches (slightly closer than the standard six-to-eight-inch distance) increases the ratio of direct sound to reflected sound. The trade-off is increased proximity effect, creating more low-mid warmth that you'll need to reduce during mixing with high-pass filtering. But this is a much easier problem to solve than trying to remove room reflections from your recordings after capture.
Cardioid polar patterns reject sound from the rear and sides while capturing sound from the front. Position your microphone so the rejection areas aim toward your most problematic acoustic surfaces. If your room has particularly reflective hardwood floors, angle your microphone slightly downward so the rear rejection area aims at the floor.
Dynamic microphones like the Shure SM58 or SM7B provide tighter polar patterns with better rear and side rejection. This naturally captures less room sound. If your room sounds terrible and you can't treat it adequately, experiment with dynamic microphones. The SM7B particularly has become an industry standard specifically because its rejection characteristics work beautifully in untreated spaces.
Instead of recording entire verses in single takes, record line-by-line or phrase-by-phrase. This creates more editing work but results in tighter performances with less room sound and noise contamination. The shorter take approach also lets you optimize recording conditions for each phrase.
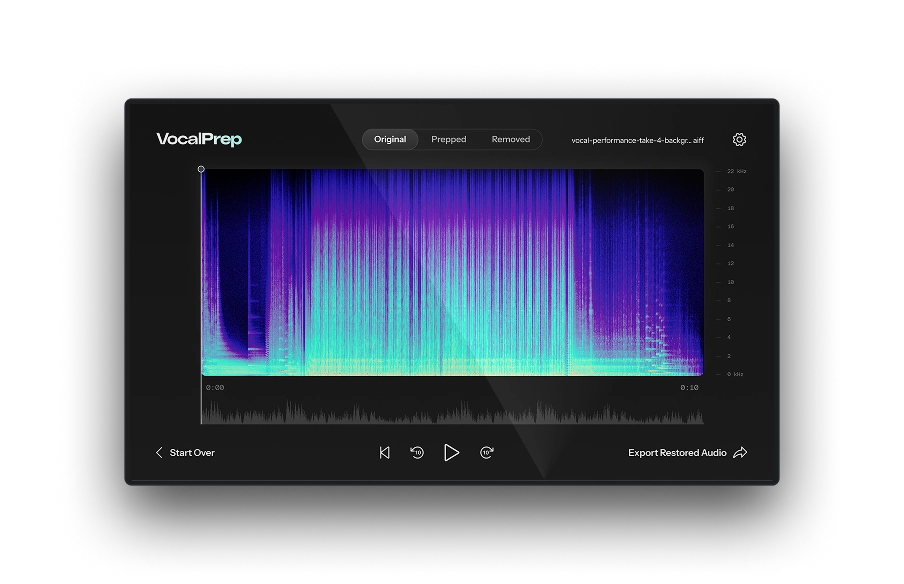
Using Vocal Prep to Solve Remaining Issues
Even with optimal positioning, basic treatment, and careful recording technique, untreated rooms still create some problems. This is where AI-powered noise reduction transforms acceptable recordings into professional results.
Vocal Prep uses artificial intelligence trained on thousands of vocal recordings to identify and remove unwanted noise while preserving vocal character. The algorithm distinguishes between the complex harmonic content of human voice and the simpler spectral patterns of mechanical noise, room rumble, traffic, air conditioning, computer fans, and other contamination.
The one-click cleanup process analyzes your recording, identifies noise patterns, and removes them without affecting your vocal tone. Unlike traditional noise reduction that can create underwater, phase-y artifacts, Vocal Prep's AI approach maintains natural vocal quality.
Apply Vocal Prep immediately after recording, before any other processing. Clean audio processes better than noisy audio through every subsequent stage of production. AutoTune's pitch detection works more accurately. EQ changes sound more transparent. Compression introduces less noise pumping.
The workflow is simple: Record your vocal take using proper technique. Import that recording into your DAW. Insert Vocal Prep on the track. Click the cleanup button. Export the cleaned result. This becomes your source vocal for all subsequent processing.
Building the Complete Vocal Chain for Untreated Rooms
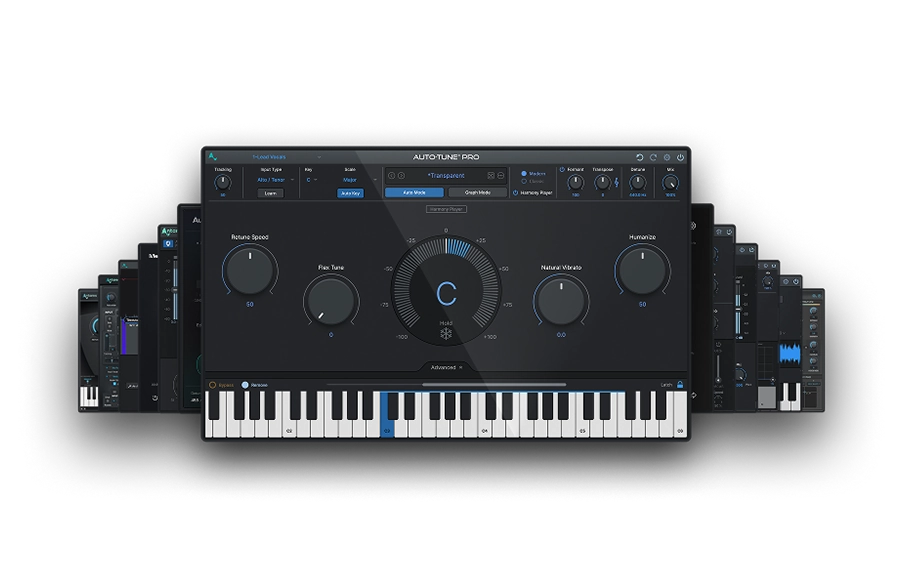
After capturing the best possible recording in your untreated room and cleaning it with Vocal Prep, you build a complete professional vocal chain using the specialized tools in AutoTune Unlimited.
Untreated room recording requires perfect pitch accuracy because you can't hide pitch issues behind lush reverb without reintroducing room sound problems. AutoTune Pro 11 ensures every note sits exactly where it should. Auto Mode provides real-time correction. Graph Mode offers surgical precision for detailed pitch editing. The Humanize and Natural Vibrato controls maintain realistic performance character.
Untreated rooms often create uneven frequency response due to standing waves and reflections. Vocal EQ with AI-powered learning and pitch-tracking technology corrects these imbalances. The Learn function analyzes your recording and automatically sets appropriate input types and high-pass filtering. Use targeted cuts in the 200-400 Hz mud zone to remove boominess caused by proximity effect and room modes.
Untreated room recordings often have inconsistent dynamics because you're adjusting distance to minimize room capture on different phrases. Vocal Compressor's machine learning Assist Mode creates consistent vocal levels while maintaining natural dynamics. The dual-stage architecture lets you stack gentle compression for overall control with faster compression to catch peaks.
If you recorded slightly closer than ideal to increase direct sound ratio, you may have increased sibilance. Vocal De-Esser's AI technology handles both soft sibilants like S and SH plus hard consonants like T and CH. The Assist function analyzes your vocal and sets optimal thresholds automatically.
Adding reverb to vocals recorded in untreated rooms requires careful approach. Use shorter reverb times than you normally would. Choose plate or room algorithms rather than large halls. Vocal Reverb's Auto-EQ feature with pitch tracking prevents low-frequency buildup that would emphasize remaining room issues.
Professional Examples Recorded in Untreated Rooms
Understanding that successful commercial recordings have come from acoustically compromised spaces provides encouragement and proves that untreated room recording is viable with proper technique.
Billie Eilish's debut album "When We All Fall Asleep, Where Do We Go?" was recorded largely in her childhood bedroom. Her brother and producer Finneas O'Connell recorded vocals in a space with minimal acoustic treatment, using technique and processing to create award-winning results. The approach combined close-mic technique to maximize direct sound, careful processing to control dynamics and tone, and strategic use of effects.
Many foundational hip-hop and R&B recordings from the eighties and nineties came from bedrooms, basements, and makeshift studios with no formal acoustic treatment. The limitations of untreated spaces arguably contributed to the characteristic sound of these genres. The intimate, close-mic approach that minimizes room capture became part of the aesthetic.
An entire genre of "bedroom pop" has emerged from home recordings made in untreated spaces. Artists like Clairo, Rex Orange County, and countless others create commercially successful music recorded entirely in bedrooms and home studios with limited or no acoustic treatment. The aesthetic accepts or even embraces the limitations of home recording.
Your Path to Professional Home Vocals
Untreated rooms create challenges, but those challenges aren't insurmountable. Strategic positioning minimizes room problems. Basic DIY treatment solves the worst issues. Careful recording technique optimizes direct sound capture. AI-powered processing cleans remaining contamination. Professional vocal processing creates polish and consistency.
Record in room center or optimized positions away from walls. Use whatever absorption you can manage even if it's just blankets and pillows. Record close enough to favor direct sound over room sound. Apply Vocal Prep to remove remaining noise. Process through the complete AutoTune Unlimited vocal chain to achieve commercial quality.
Your room isn't ideal. That's fine. Ideal rooms aren't required for exceptional results. Proper technique combined with modern AI-powered tools transforms adequate recording spaces into professional production environments.
Try AutoTune Unlimited free for 14 days and discover how professional vocal processing turns home studio recordings into commercial-quality results, regardless of your room's acoustic limitations.
AutoTune Unlimited
The Ultimate Vocal Production Suite

Exclusive AutoTune Content
Related Articles:
Vocal Prep

AutoTune Unlimited

AutoTune 2026 and Metamorph
Now Included

Written by: Mike McMillen
Marketing Manager at AutoTune
LinkedIn
Mike has 10+ years of experience in the audio tech industry, having previously worked on globally-recognized brands such as Alesis and M-Audio. Prior to his marketing career, Mike traveled the globe as a guitarist for various punk rock and hardcore bands and also worked as an audio engineer on releases from Big D and the Kids Table, A Loss for Words, and more.