
Do you want to record professional audio from your home? Nowadays, many podcasts, radio shows, and albums we listen to are recorded in a home studio, where producers can bring to life the perfect recording environment to maximize their workflow.
You don't always need to go to a professional studio and invest hundreds or thousands of dollars: with a few simple tricks, some production know-how, and patience, you can make your home recordings sound professional enough to be published and appreciated worldwide.
Setting up your own studio is much simpler than you think, and as long as you get the basics covered, you’ll be able to create an ideal environment for yourself and other musicians. Let’s dive in!

Prepare the Recording Environment
Choosing a quiet place for your recording sessions is perhaps the most crucial step when creating a recording studio at home. Choose a room that’s as isolated as possible from the loudest areas of your house. Furthermore, consider that your neighbourhood might not enjoy listening to your latest gabber track for hours: so make sure you choose a room that doesn’t have walls directly connected to other houses or with thin walls.
Sound absorption will play an essential role in your recording studio. Invest in some acoustic treatment, like acoustic foam that'll reduce audio reflection, and take whatever necessary steps to help isolate the sound. You can use blankets and other pieces of furniture to mitigate the echo and reverb that your microphone might pick up. For this reason, a bedroom might be the ideal place for your home recording studio, and it’s also a room where it’s easy for singers and musicians to feel comfortable and at ease.

Pick the Right Equipment
Microphones, DAWs, audio interfaces, plugins, and MIDI instruments: these are the fundamental tools music producers need when recording and making music from home. Your audio gear will play a significant role in your workflow, so make sure you choose wisely and do the necessary research before purchasing the wrong item.
Ask yourself the following questions:
- Will I work mainly with MIDI or recorded audio?
- How many instruments will I record simultaneously?
- What am I going to record the most, vocals or musical instruments?
Answer each question, and you’ll be able to narrow down your requirements and choose the best audio gear for your needs.
Choose wisely and treat your instruments kindly. Condensers and ribbon mics are all quite sensitive and could become inoperable if their diaphragm experiences any dings or damage. Take care of them by storing them after each session. The same goes with the cables; coiled and well-maintained cables last far longer and are more likely to function properly than ones simply placed in a drawer.
Whatever you do, don’t record with your iPhone mic!

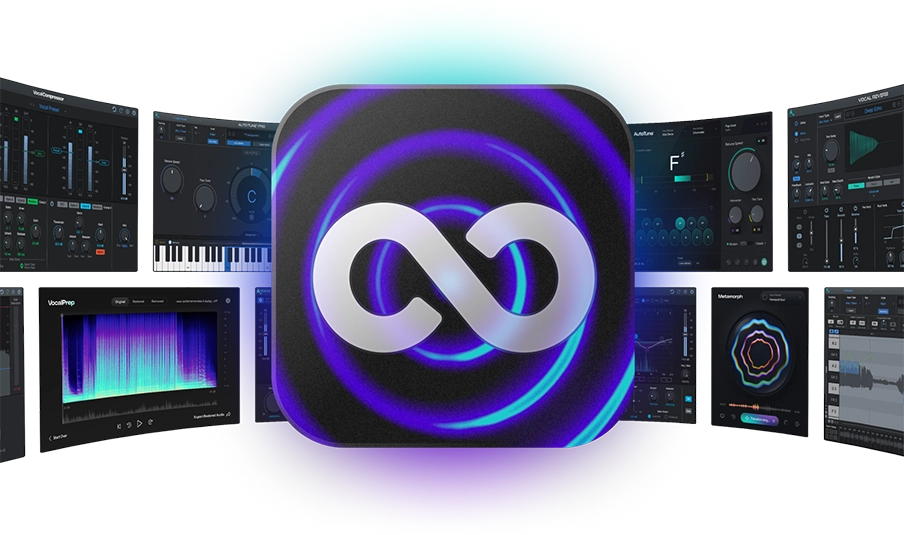
AutoTune Unlimited
The Ultimate Vocal Production Suite
What About the Settings and Levels?
It's crucial to set up your recording session with a 48k sampling rate and a 24-bit depth, at the very least.
Furthermore, if you want a clear signal, you should record at a level of at least -18 dB. This not only allows for a large amount of dynamic range but also assures that you cover the equipment and room noise floor. If you record your signal at a level of -18dB, you’ll be able to increase the gain of this track by that much (if you need to) without adding clipping and unwanted distortion.
In other words, recording at -18dB takes care of two crucial components of recording:
- It insulates your equipment and the room's noise floor.
- It provides adequate headroom to guarantee a dynamic recording that can be processed further.
You should never record your signal at 0 dB or above because doing so will result in clipping distortion, which produces unappealing harmonics and unusable audio.
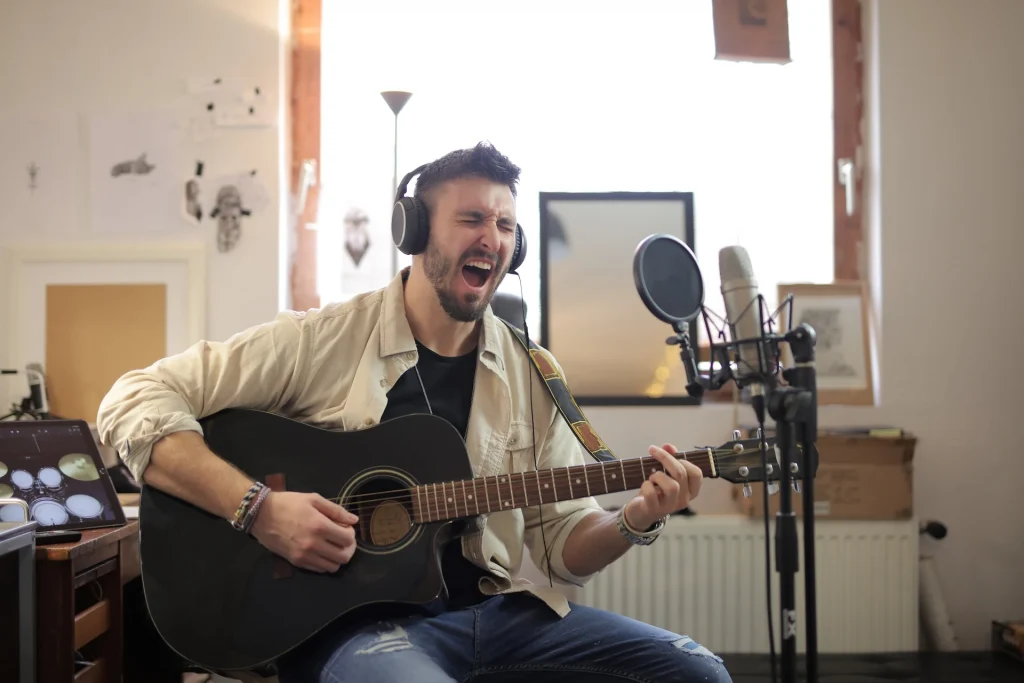
Professionally Recording Vocals in a Home Studio
This part will be the most crucial element of your at-home recording session. You'll need a top-notch vocal microphone to get high-quality audio.
When recording, the singer should not be too close to the microphone and should be using a pop filter to mitigate plosives as much as possible. If budget is an issue, you can make a homemade pop filter with the tools you have at home.
The five-finger rule can be used to determine the appropriate distance: when your fingers are spread out, and your thumb is next to your lips, your pinky should be touching the pop filter.
Ensure that your home studio can accommodate recording at a suitable volume. Your average level (RMS) should be around -12 dB, and your peaks should be at about -6 dB. Ensure the singer is at ease with their headphones, and there is a decent balance between their voice and the rest of the track.
It is also your job to make sure the singer is in the right mood and conformable enough to deliver the best work. Keep everything as clean and straightforward as possible. No distractions, notifications, and ask them to keep their phone on airplane mode… Trust me on this: when you worked so hard to get that perfect voice recording, the last thing you want is a call from a friend to ruin it.
Record High Quality Instrument Tracks
When recording an acoustic guitar, the correct positioning of the instrument microphone is essential for creating a professional recording in a home studio. To determine what sounds best in your home studio space, you'll need to experiment. In general, you'll get good results if you stay 6 inches or less away from the instrument with your mic.
Aim the instrument microphone at the high point of the guitar's fretboard rather than the instrument's sound hole. If you can use two instrument microphones, you’ll be able to create a more immersive recording by positioning the second mic toward the bottom of the guitar fretboard. Just make sure you record audio at the appropriate volume (-6dB peaks and -12dB RMS).
You could also record a piano in your home studio, but chances are you'll run into problems right away, such as playing an instrument that’s out of tune, in poor condition or with a sound that’s just not what you are looking for. Also, it is nearly impossible to record drums in a home studio due to a number of issues, including annoying your neighbours.
Of course, string instruments, horns, and choruses need the right amount of space, which 99% of the time is not available in a standard home studio. It will be better for you to record all of these instruments in a professional recording studio or find the appropriate plugin instruments.
Invest in Professional mixing and mastering software (and Plugins)
Your digital audio workstation, or DAW, will allow you to record your audio and process it directly on your computer: it’s a fantastic tool for recording bands, musicians, and singer-songwriters. You can use plugins to expand your sonic palette indefinitely, from using an orchestra to record rhythms to creating beats with just a few clicks.
Ensure you pick the DAW that can meet your needs, and once you choose the best one, try to stick with it. There is no point in getting the Ableton Live Suite if you have been a Pro Tools user your whole career unless you think the change will improve your workflow considerably.
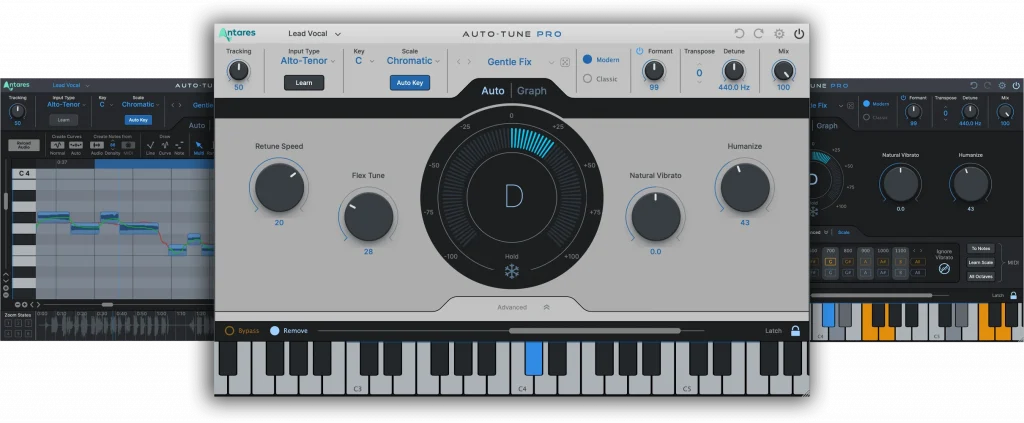
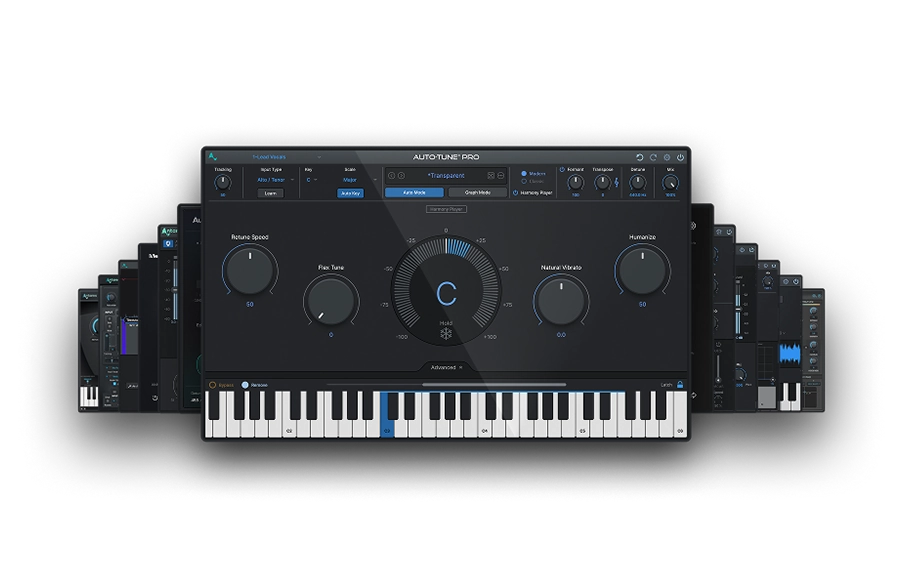
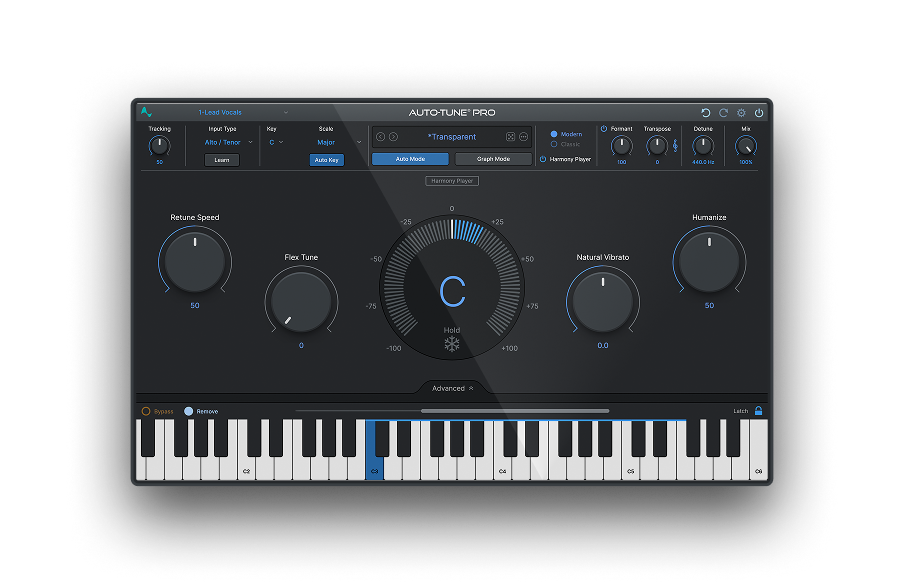
Bringing professional vocals to life is often one of the most delicate processes when recording audio at home. Luckily, there are professional plugins that can help you achieve incredible results at a fraction of the cost of a standard recording studio. With a carefully-crafted selection of vocal effects and the most advanced pitch correction tool on the market, Auto-Tune provides endless possibilities for home studio producers to enhance their vocals and optimize their workflow. From subtle pitch correction to extreme creative effects, Auto-Tune is the all-in-one vocal solution for ambitious singers and producers at all levels.

AutoTune Pro
The Professional Standard for Pitch Correction
Process Your Sound
Professional mixing and mastering are not something most musicians are familiar with.
The most experienced audio professionals are aware of how even the smallest changes in audio frequencies can have an impact on a song's overall tone, sound, and reception. Even if you’re an independent musician, you should consider the advantages of investing in professional mixing and mastering to upgrade your musical career.
With that said, if you are a brave soul and want to do everything by yourself, here are some tips to keep in mind:
- Keep it simple. Some of the best mastering engineers only use EQ for cutting out unwanted frequencies, compressors, and limiting. You may be surprised by what you can accomplish with these simple tools if you master them.
- Create a more natural and immersive soundscape by adding reverb and delay.
- Use reference tracks to give you an idea of the sound you want to achieve.
- Check if you fixed all the issues by comparing your final master to your initial mix. Focus on the sonic details and not on the track’s arrangement.
Test Your Mixes
Last but not least, putting your mix on different devices may give you an idea of how it will sound on all playback systems. Listen through the speaker on your phone, the radio in the kitchen, or the car stereo… Try them all. It’s not necessary for these speaker systems to be high-end. In fact, many people will listen to your music on subpar systems, so it’s always a good idea to test your audio on basic playback equipment.
Final Thoughts
With these tricks, you’ll be more confident when creating your next hit. I can assure you that when inspiration hits in the middle of the night, your home studio will become a safe haven you’ll never want to leave, and a place where creating the best professional sounds will be a joy.
FAQ
How can I make my audio quality better professionally?
Buy the best microphone to record your vocals or instruments. Treat your room so that there won’t be excessive echo or reverb while recording. Take multiple takes while adjusting your levels: this will help you find the best settings based on your environment and audio gear.
How can I make my voice sound professional at home?
With a high-quality mic, it’s much easier to get satisfactory results. Next, proper microphone placement will dramatically improve the quality of your recordings. The final step is to get plugins that’ll help you enhance your sound, like Antares’ extensive library of vocal effects and legendary Auto-Tune Pro.
AutoTune Unlimited
The Ultimate Vocal Production Suite

Exclusive AutoTune Content

AutoTune Pro

AutoTune Unlimited
AutoTune 2026 and Metamorph
Now Included

Antares Editorial
Antares is a leading developer of software for music recording and live performance. For over 20 years, Antares has powered the music of top-charting and indie artists with products including the industry standard for pitch correction, AutoTune™.