
Getting a balanced mix is a work of art that might seem like black magic to inexperienced musicians. Audio engineers spend years of their lives fine-tuning their techniques to set mixing levels to perfection, and when done right, they result in albums that sound balanced and clear regardless of the playback device used.
How do we achieve such sonic balance, and which tools are required to make your music sound as perfect as it can be? In this brief guide, we'll look into the crucial role of volume levels in achieving a consistently-balanced mix and the steps required to get your track ready for mixing, mastering, and publication.
What are the Right Mixing Levels?
A common mistake when mixing a song is raising the volume of the tracks to balance things out, which will end up with the entire mix sounding distorted and having to start the mixing process all over again. So, is there any way to avoid this? And what are the correct mixing levels, then?
The hard truth is that there is no one-size-fits-all formula. Each song is different, and every artist has a unique approach. If there were any formula, music would be more science than art! Furthermore, all music would sound much more similar than it actually does, preventing the artists from developing their sonic palette and style.
When looking for the correct mixing levels, focus on your song's style, genre, and arrangement. Having a reference track (more on that later) and a deep understanding of the genre you're working on will help you determine which instruments and frequencies should be enhanced and mitigated. Hours of deep listening sessions will go a long way in this case!

Why Do Setting Levels Matter?
Volume balancing is a crucial aspect that will help you make further decisions in the mixing process. When you balance, ensure you take into account the following characteristics:
- Emotional effect. Coherence between all the elements in the mix is fundamental as it makes the song's transitions fluid and pleasant.
- Keep the master bus clean. Leave the master fader at unity gain (0 dB) and mix the instruments. Before you get to the master bus, keep track of the levels and dynamics by submixing into group channels. This way, you can add overall compression and EQ to your group channels and then route them to the master bus.
- Avoid high levels on every track. You want a quality mix with an appropriate dynamic balance between the loud and the quiet.
- Achieve the highest possible resolution and get good levels on your Master Bus. The only thing that matters is the music that comes out of the stereo output: when the mix is finalized, pay attention to the overall flow of your mix as you work on each separate track.
How to Balance Levels?
You want to have a "workable" mix as soon as possible, so you can make adjustments as you go. Start with the lead tracks, and then manipulate the rest in order of importance: most of the time, the vocals or drums go first. Sometimes it's the guitar, but in rock, it's usually the vocals or the snare, and in Hip-Hop, it's the kick with the bass.
If you start with the drums, go on a deeper level and think of each part of the drums and their importance in the mix.
A Look at the Genre
Setting levels depend mainly on the genre and style you're aiming for. If you feel the song is in between two styles, create synergy between the two genres, adapt the voice to sound in line with other like-minded artists, and play with subtle transitions and blending.
Composition and Arrangement
Since each song has different sonic arrangements, there's no unique formula to help you mix your music. The balance on levels mostly depends on the instruments involved, but to keep things simple, start with the connection between the kick and the bass guitar. Make them sound good together, and if the bass is too loud, don't make the drum louder, but rather lower the bass. Then incorporate the guitars and balance them spatially. Again, if something is too quiet, don't make it louder. Better turn the other part lower: you can take care of the loudness later.
If you mix your songs this way, you'll have a much easier time keeping your volume levels in check. Once you have 75% of your mix together, you can raise the volume.
Consider Mix Depth
The perceived loudness of a sound changes according to its distance from your ears or the microphone. The same happens in your mixes, and by enhancing the characteristics of your sound field, you can create an interesting level of depth that'll keep your audience engaged throughout the track. You can figure out the proper levels for your track by finding what parts should be in the front, middle, and back. Many audio engineers start the balancing process by isolating and setting the levels of the most critical elements first.
Remember to balance the frequencies, so they don't overshadow each other. Use panning to help you arrange varying frequencies from left to right to create space. For example, some of The Beatles' songs have drums on the left side. Focus on achieving balance rather than symmetry.

Achieve Mix Glue
It is essential to create a cohesive mix when producing music in the modern era, and one way to do this is by paying close attention to the volume levels of each part. When a track is recorded in a sound-proofed studio, even subtle changes in volume can significantly affect how well the overall mix comes together. Making sure everything is balanced and that nothing is too far forward or behind the rest of the elements will give your track an even sound.
This can be accomplished through effects such as reverb and delay, which add depth to the mix and help glue parts together.
Furthermore, when mixing, it's essential to keep an ear out for any inconsistencies between elements; if something sounds too loud or soft compared to other parts, it can disrupt the flow of your mix. Even minor adjustments can make a significant difference in achieving balance and creating a more fluid sound for your tracks.
It takes some practice to know when a mix sounds "glued together," but the more you listen to your mixes critically, the better you will get!
Find Reference Track
If you are working for a client, ask them for previous songs as a reference. It will give you an understanding of the type of balance they are looking for in their mix. There's no better way to get a pleasant mix than by knowing exactly what you or your clients are looking for, so spend some time exploring the relevant genre, artists, and music, and you'll save a lot of time in the mixing process.
Experiment
Add variety to your mixing process. Volume is one of many ways to get your track to the proper mixing level. There are a lot of tools and plugins, including our iconic ToolKit, to help you with your mixing process. Panning, EQ, and compression can make a difference, but the simplest solution is usually the right one. For instance, minor adjustments of the volume fader can give much more than any other processing. Give our Vocal Effects a try to explore the endless possibilities you have to take your sound to the next level.
Also, experiment with the structure of the song. For example, a guitar in verse can be loud enough, but when it comes to the chorus, you may find out that it gets too quiet. The answer here is volume automation. Just hit the record automation button and move the faders as the song plays.
Once you've automated whole sections, you can go even deeper, fine-tune even smaller sections, and achieve industry-standard results.

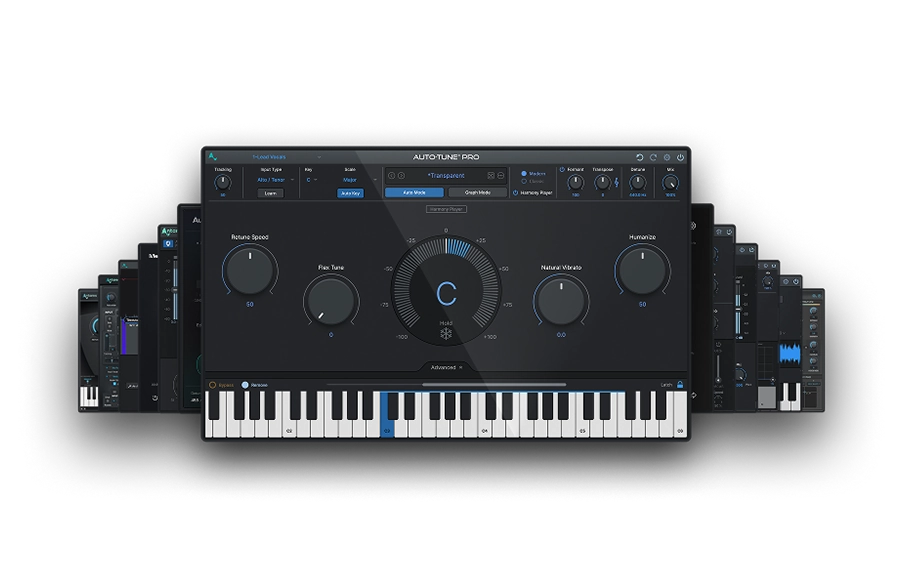
AutoTune Unlimited
The Ultimate Vocal Production Suite

Exclusive AutoTune Content

AutoTune Pro
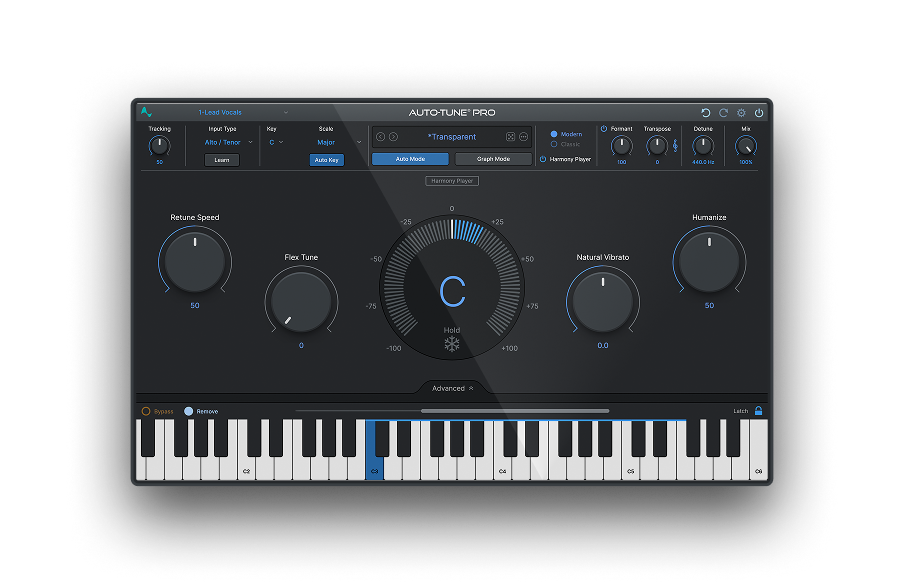

AutoTune Unlimited

AutoTune 2026 and Metamorph
Now Included

Antares Editorial
Antares is a leading developer of software for music recording and live performance. For over 20 years, Antares has powered the music of top-charting and indie artists with products including the industry standard for pitch correction, AutoTune™.