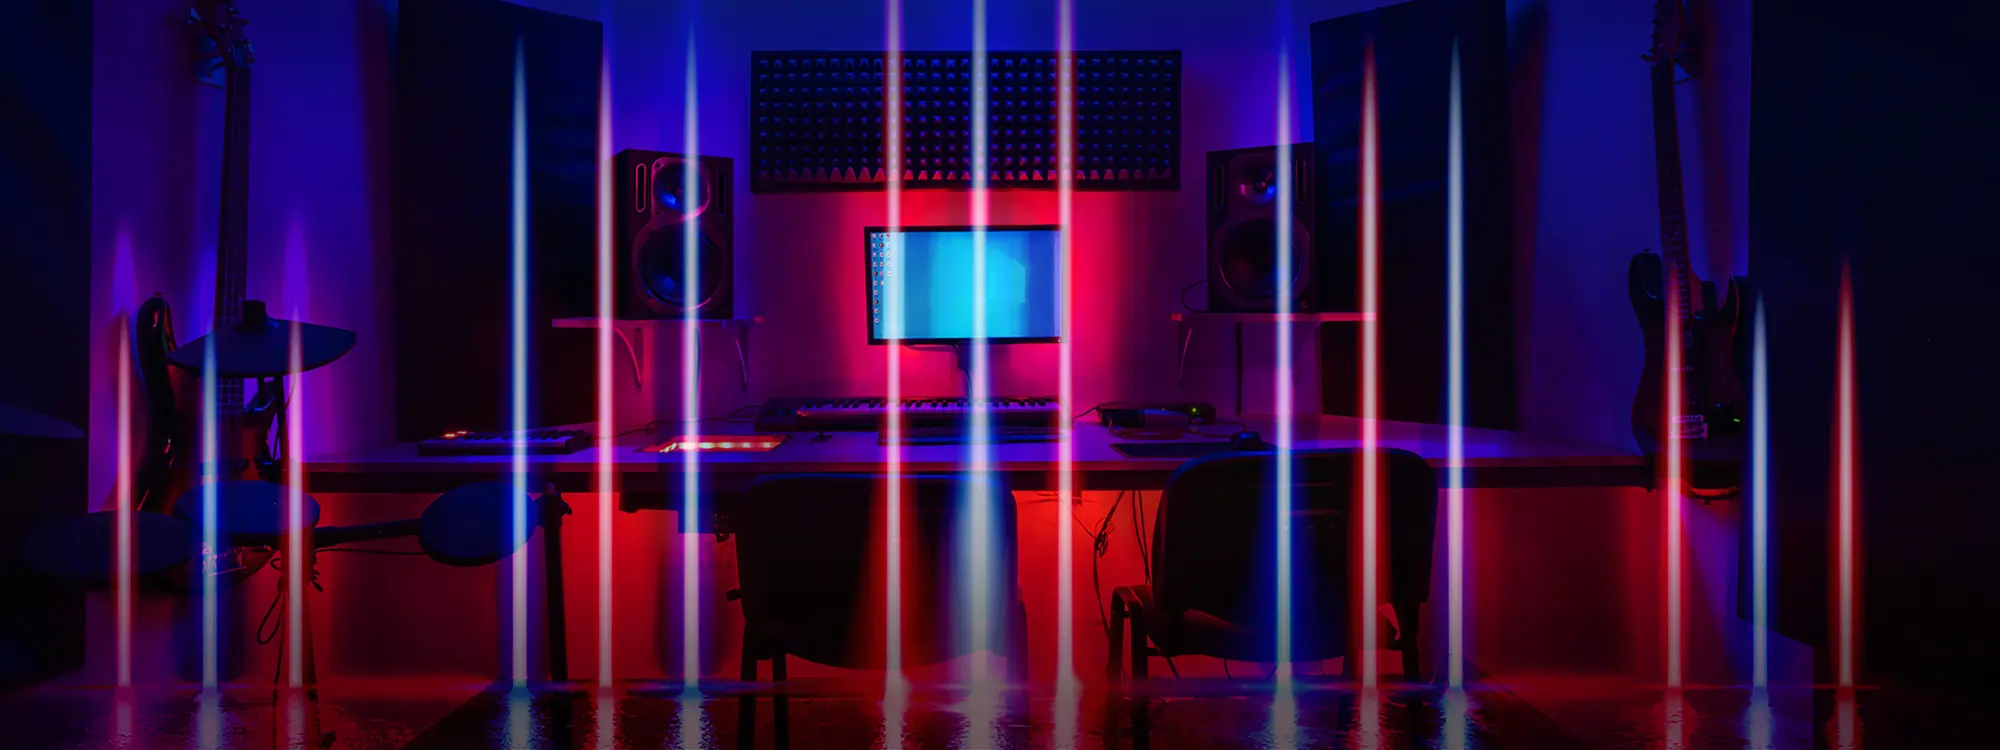
Whether you need to capture audio for your podcast, music, or multidisciplinary project, understanding the importance of sound recording is crucial if you want to bring your creative vision to life.
Sound quality is a vital element of every project involving audio, so today we'll look at what it takes to professionally record sounds and the fundamental tools and techniques to upgrade your recordings.
What is Sound Recording?
Simply put, sound recording is the process of transcribing the vibrations in the air that we hear as sound onto a physical or digital medium. Recording technologies can be divided into analog and digital recording, and the medium to store those recordings are records, tapes, compact discs, or digital files.
Analog recordings require a microphone to capture a sound wave, which is then replicated onto a physical medium. The first recordings were mechanical, using analog technologies for recording and reproducing sounds with a phonograph cylinder.

The phonograph cylinder was a device developed by Thomas Edison in the late 1800s. It had a horn used to receive (and playback) analog recordings, which caused the diaphragm to vibrate. The diaphragm was connected to a stylus pressed against a cylinder covered in wax. When the handle was rotated, the stylus cut the cylinder forming a pattern recording the sound waves.
Another preliminary analog technology is magnetic tape, which was developed in Germany by Fritz Pfleumer in 1928. Tape significantly simplified the process of recording sounds by imprinting captured sound onto tape magnetically.
As the technology progressed, tape recordings could be played back immediately and quickly erased, allowing multiple uses without reducing sound quality. One of the primary drawbacks of tape recordings is that they deteriorate over the years.
Nowadays, digital recordings capture analog sound with a microphone and convert it into a digital binary form with an analog-to-digital converter (ADC). The digitized waveform can then be stored on a compact disc or a computer to edit and reproduce, without the risk of it deteriorating over time
How to Record Music: A Step-by-Step Guide
Step 1. Set Up Your Recording Space
Modern digital technologies have made sound recording easier and more affordable than ever. However, that doesn't mean creating high-quality audio is effortless.
First, consider the characteristics of the space where you’ll be recording. Your room acoustics will make a difference in the sound quality, so you might want to adjust your recording space to achieve optimal quality.
Here are some tricks you can use to sound treat your home studio:
- Use bass traps to absorb frequencies, especially the low ones.
- Add acoustic panels for mid and high frequencies absorption.
- Place a diffuser in your room to spread the remaining frequencies.
- Install floor mats and isolation pads for soundproofing. Adding furniture works for larger rooms.

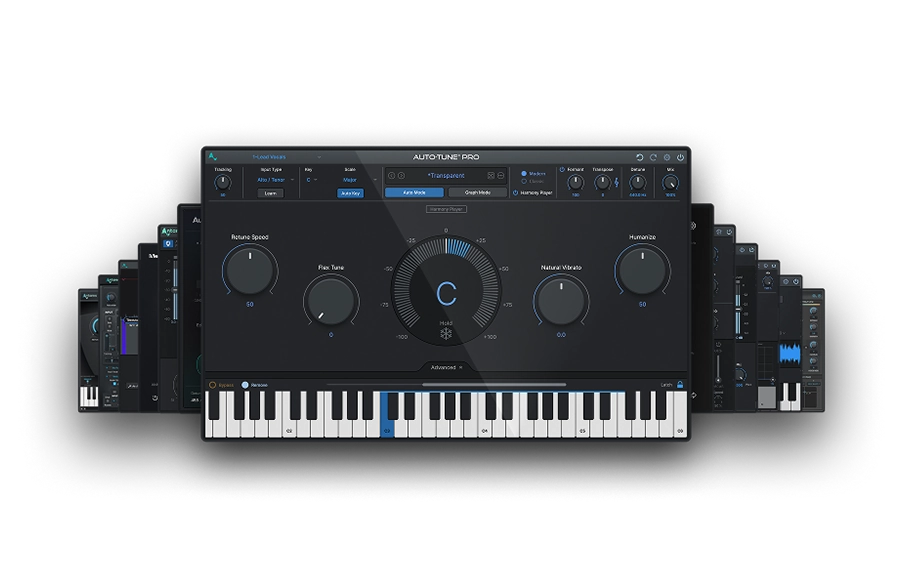
AutoTune Unlimited
The Ultimate Vocal Production Suite
Step 2. Microphone and Instrument Positioning
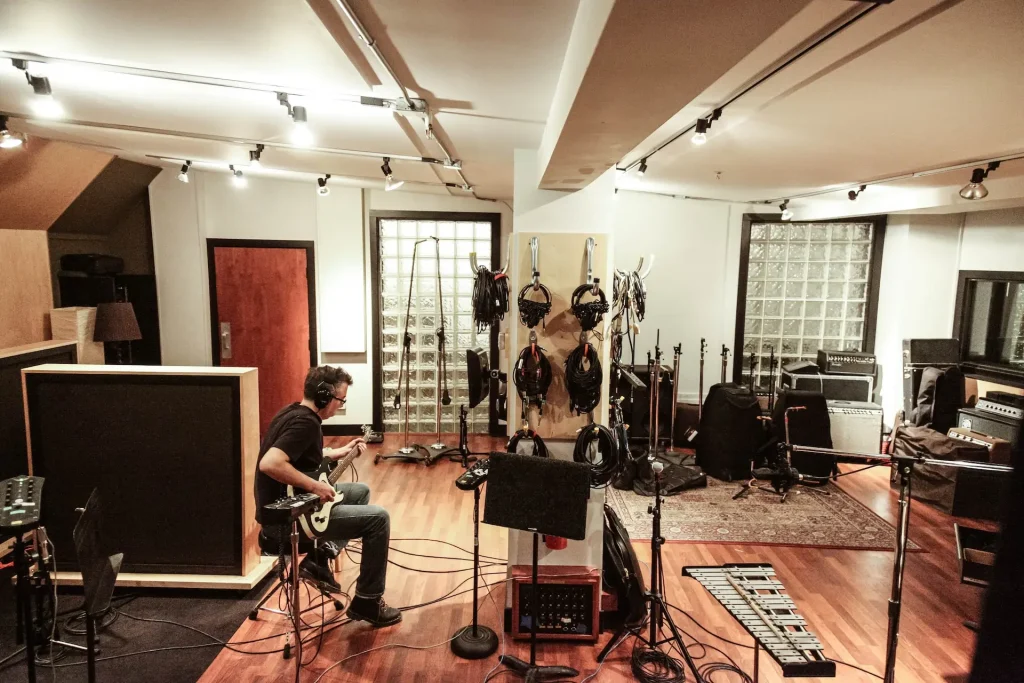
It’s essential to understand how microphone placement affects the quality of a recording. Here are some examples to keep in mind.
To record acoustic guitars, start by placing the microphone farther from the instrument. Due to the proximity effect, you could have too much unwanted noise if the mic is placed too close to the source.
Place the mic a little farther than you expect, do a test recording to monitor the sound quality, then adjust the distance and angle as needed. Place the microphones in front of the guitar amp and experiment while monitoring the sound.
Drums require a lot of experimentation to achieve the best sound, as you need at least four microphones to capture the treble sound of the cymbals, the crispy attack of a snare drum, and the low sound of the drum kick. There’s no golden rule here: recorded drums should sound rich, immersive, and engaging, so keep experimenting with microphone placement until you achieve the desired effect.
If you’re a singer, you can get a natural sound for vocals by placing the microphone's diaphragm parallel to your mouth. Setting it higher will get you a more nasal sound, and placing it at a lower height will give you a quieter, less defined sound.
Step 3. Recording Techniques
Recording musical instruments professionally in a home studio setup might be challenging, but there are endless tools to help you record high-quality audio without spending a fortune.
There are different techniques to record every instrument, from pianos to guitars and drums. Specific microphones can help you capture the nuances of your instrument, and how you place the mic will impact how frequencies are recorded.
The ultimate goal of audio recording is to obtain a cohesive and immersive sound, so try to experiment with your gear and find reference tracks to help you define the sound you want to achieve.
Just as every musical instrument requires individual attention to detail and experimentation, so too do the vocals in your recordings.
Vocals are arguably the most crucial aspect of song production, meaning the raw recordings should sound clear and transparent from the start. The room where you will be recording needs to be well-treated acoustically, and remember to use a pop filter to reduce plosive sounds.
Always do a test recording to ensure everything is connected and sounds how you want.
If your home studio is short on space for instruments such as drum kits, keyboards, or guitars, you can use virtual instrument plug-ins in your DAW. Alternatively, you can get creative with your use of samples and loops to recreate the sound you envision.
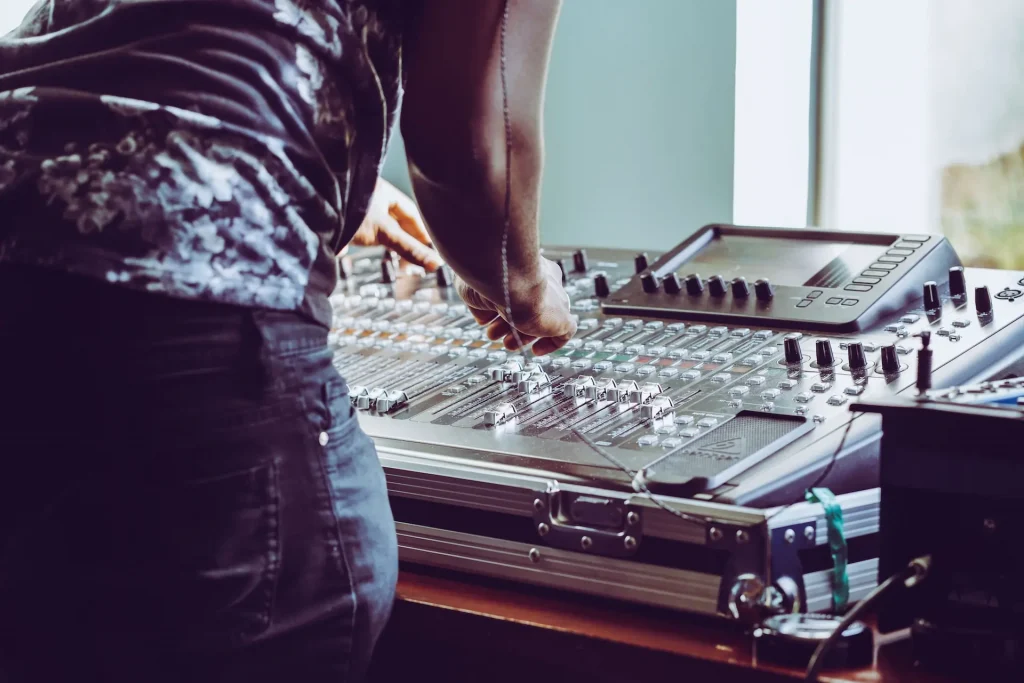
Step 4. Monitoring and Adjusting Audio Levels During Recording
During the recording process, monitoring every microphone and instrument connected to your audio interface is crucial to maintain good levels and to solve any issues you might encounter.
Use your headphones or studio monitors to listen to the musicians playing, then adjust the levels on your DAW to ensure everything is sufficiently loud without clipping. You can always correct the volume in your DAW during the mixing and mastering, but audio clipping is almost impossible to fix without compromising the quality of the recording.
AutoTune Unlimited
The Ultimate Vocal Production Suite
Essential Sound Recording Equipment
Microphones

The three most common types of microphones are dynamic, ribbon, and condenser. Dynamic microphones use electromagnetic induction to convert sound waves into voltages. They’re the most forgiving for home studios without proper sound treatment and are ideal for vocals, kick drums, and amps.
Condenser microphones use capacitance change to convert sound waves to electrical signals. This type of microphone requires less gain from preamps and is very sensitive. They're used mainly for vocals and acoustic instruments. If you’re using a condenser mic, don’t forget to plug in the phantom power!
Ribbon microphones have a thin metal ribbon in a magnetic field that uses electromagnetic induction to create the audio signal. Still, unlike dynamic microphones, their construction is quite delicate and are more sensitive. Ribbon mics are expensive but deliver a warm, rich sound that many producers love for vocals and guitars.
Audio Interfaces
An audio interface will connect your instruments and microphones to your computer.
If you are a singer-songwriter, chances are you won’t need more than a small interface with one or two inputs for your microphone and another instrument like a guitar. But if you have a band, you’ll need an interface with more inputs to connect the drum mics, keyboards, and guitars.
Some entry-level audio interfaces are the Focusrite Scarlet, Audient iD4, and the SSL 2, which you can get for less than $200.
DAWs (Digital Audio Workstations)
A digital audio workstation is software for recording, editing, mixing, and mastering audio on your computer.
You can find free DAWs like GarageBand or download a free trial for any other to practice and learn before deciding which one to buy. The most used DAWs in the industry are Pro Tools, Ableton Live, Logic Pro, and FL Studio.
Monitoring equipment
Monitoring equipment lets you listen to the audio while recording, mixing, and mastering. What differentiates studio monitors from all other types of speakers is that they deliver a transparent sound, with the audio frequencies untouched by the monitor, which is essential when manipulating audio.
Look for a studio monitor and headphones with a wide and flat frequency response to listen to the natural sound recording with no emphasis on any frequency that may interfere when mixing.
Studio headphones should also provide excellent transparency. They must be comfortable for your ears because you’ll spend hours wearing them, and you should avoid commercial brands that enhance bass and trebles.
AutoTune Unlimited
The Ultimate Vocal Production Suite
Tips and Tricks for Better Sound Recording
Achieving a Balanced Mix
You should aim to create a balanced mix that allows all instruments and sounds to blend well and coexist. The first step is to use faders to find the appropriate volume for each element of your audio you can achieve this by listening carefully to the raw material and making adjustments until you get a cohesive sound.
After that, you’ll need to apply some basic mixing techniques, such as compression and equalization (EQ).
The Role of Compression and Equalization in Sound Recording
Compression helps to reduce volume when the source gets too loud. You can set the compressor to a set threshold that will reduce the volume automatically when reached, and maintain a steady level throughout the track without clipping.
EQ allows you to balance all the instruments in the audio frequency spectrum. By reducing or boosting the frequencies of each instrument, an EQ helps you make room for each instrument to shine, and create a coherent overall sound. Understanding where each instrument should exist on the sound stage will help you determine when to use EQ and if you need to reduce or boost frequencies.
Other effects, such as reverb and panning, often give the mix more spacing and create a stereo image.
Mixing a few days after you finish the recordings is preferable. Having tight deadlines might make this impossible, but if you let the tracks “rest” for a few days, you'll be more objective in your audio editing decision-making.
Experiment with Microphone Placement and Techniques
The beauty of mic placement is that there’s no rule: you can be as creative and bold as you like, so long as the audio quality you capture aligns with your vision.
Think of the Bonhams’ drums in When The Levee Breaks or the three-microphone technique to record Bowie’s vocals in Heroes. Making audio memorable and timeless requires a lot of experimentation, trial and error, and imagination.
You can get great sound without investing thousands of dollars in audio gear, and dozens of good-quality and affordable microphones are in the market these days. Choose the best ones you can afford, and use your creativity to create your unique sound signature.
Final Thoughts
Sound recording is much more than setting a microphone and hitting the record button in your DAW.
It starts with setting up your home studio, choosing your DAW, microphones, audio interface, headphones or studio monitors, and understanding how to make the most of your audio gear and environment.
The next step is to edit your recorded raw material and achieve a balanced mix. There is no shortcut in audio production; the only way to bring professional sound to life is to experiment with and learn new tools and techniques regularly.
You'll develop and shape your mixing skills as you continue to record and mix, place mics in different positions, and by using EQ, compression, and other recording techniques to craft the perfect sound.
AutoTune Unlimited
The Ultimate Vocal Production Suite

Exclusive AutoTune Content

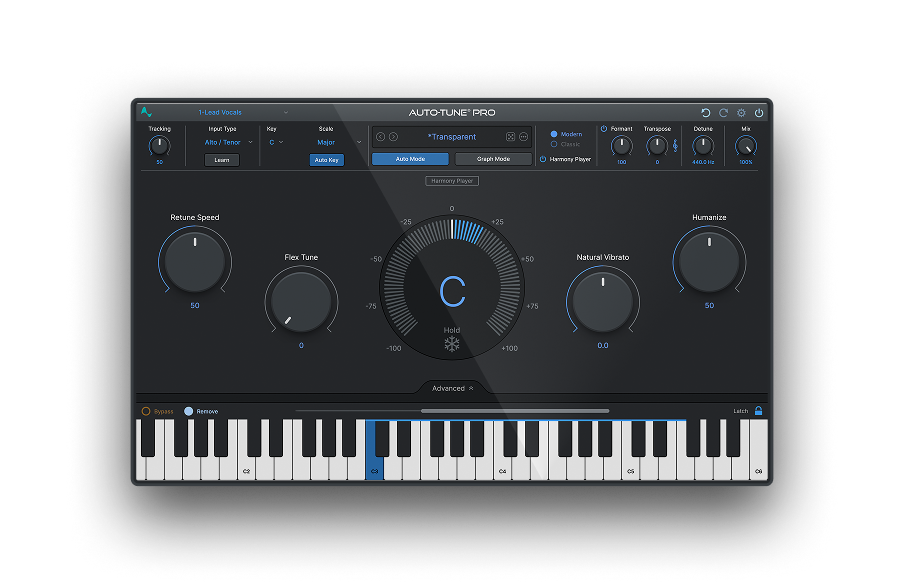
AutoTune Pro

AutoTune Unlimited
AutoTune 2026 and Metamorph
Now Included

Antares Editorial
Antares is a leading developer of software for music recording and live performance. For over 20 years, Antares has powered the music of top-charting and indie artists with products including the industry standard for pitch correction, AutoTune™.