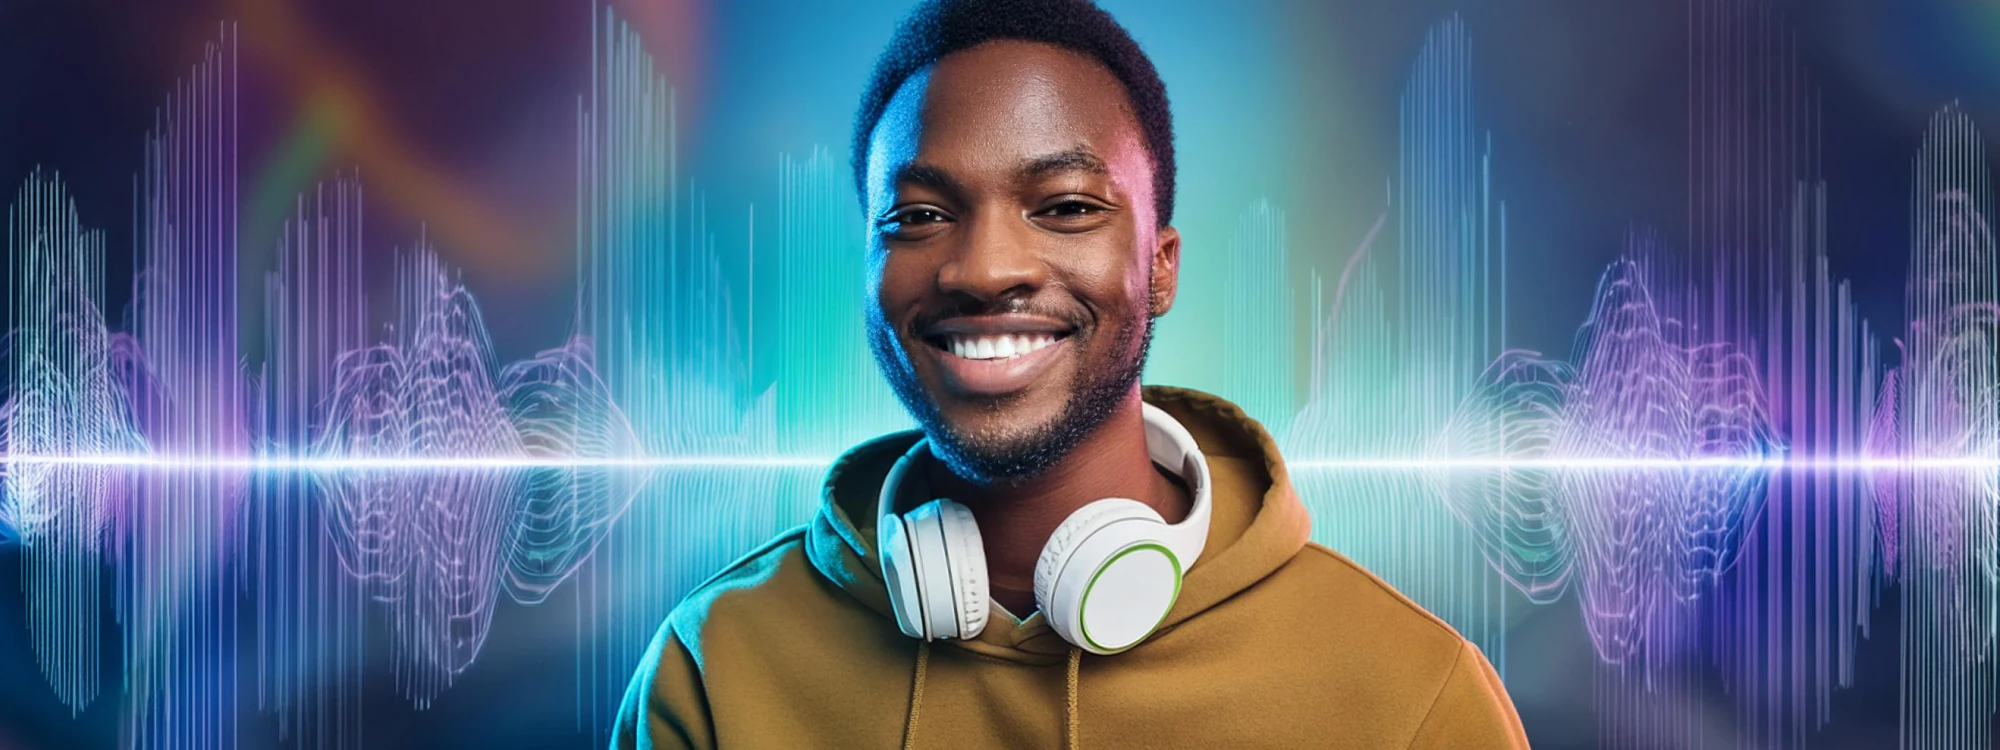
When you first decide to become a music producer, you may not know what it takes to become one. Like many others, you thought making music was just about coming up with ideas and recording and publishing them.
While this is close to the truth, the complexity of each aspect of music production requires hours and hours of study and practice to be fully understood. A music producer is a person who controls the creative workflow and can bring new music to life thanks to their experience and vision: that's not something you can achieve overnight!
Let's take a look at what it takes to be a music producer and how you can start the process of becoming one.
What is Music Production?
Music production is all about the creation of a song or an album. It begins when the artist or producer sits down to define songs or choose existing tracks from the musician's library, which will eventually end up on the record. The next phases involve recording, mixing, and mastering the tracks before distribution.
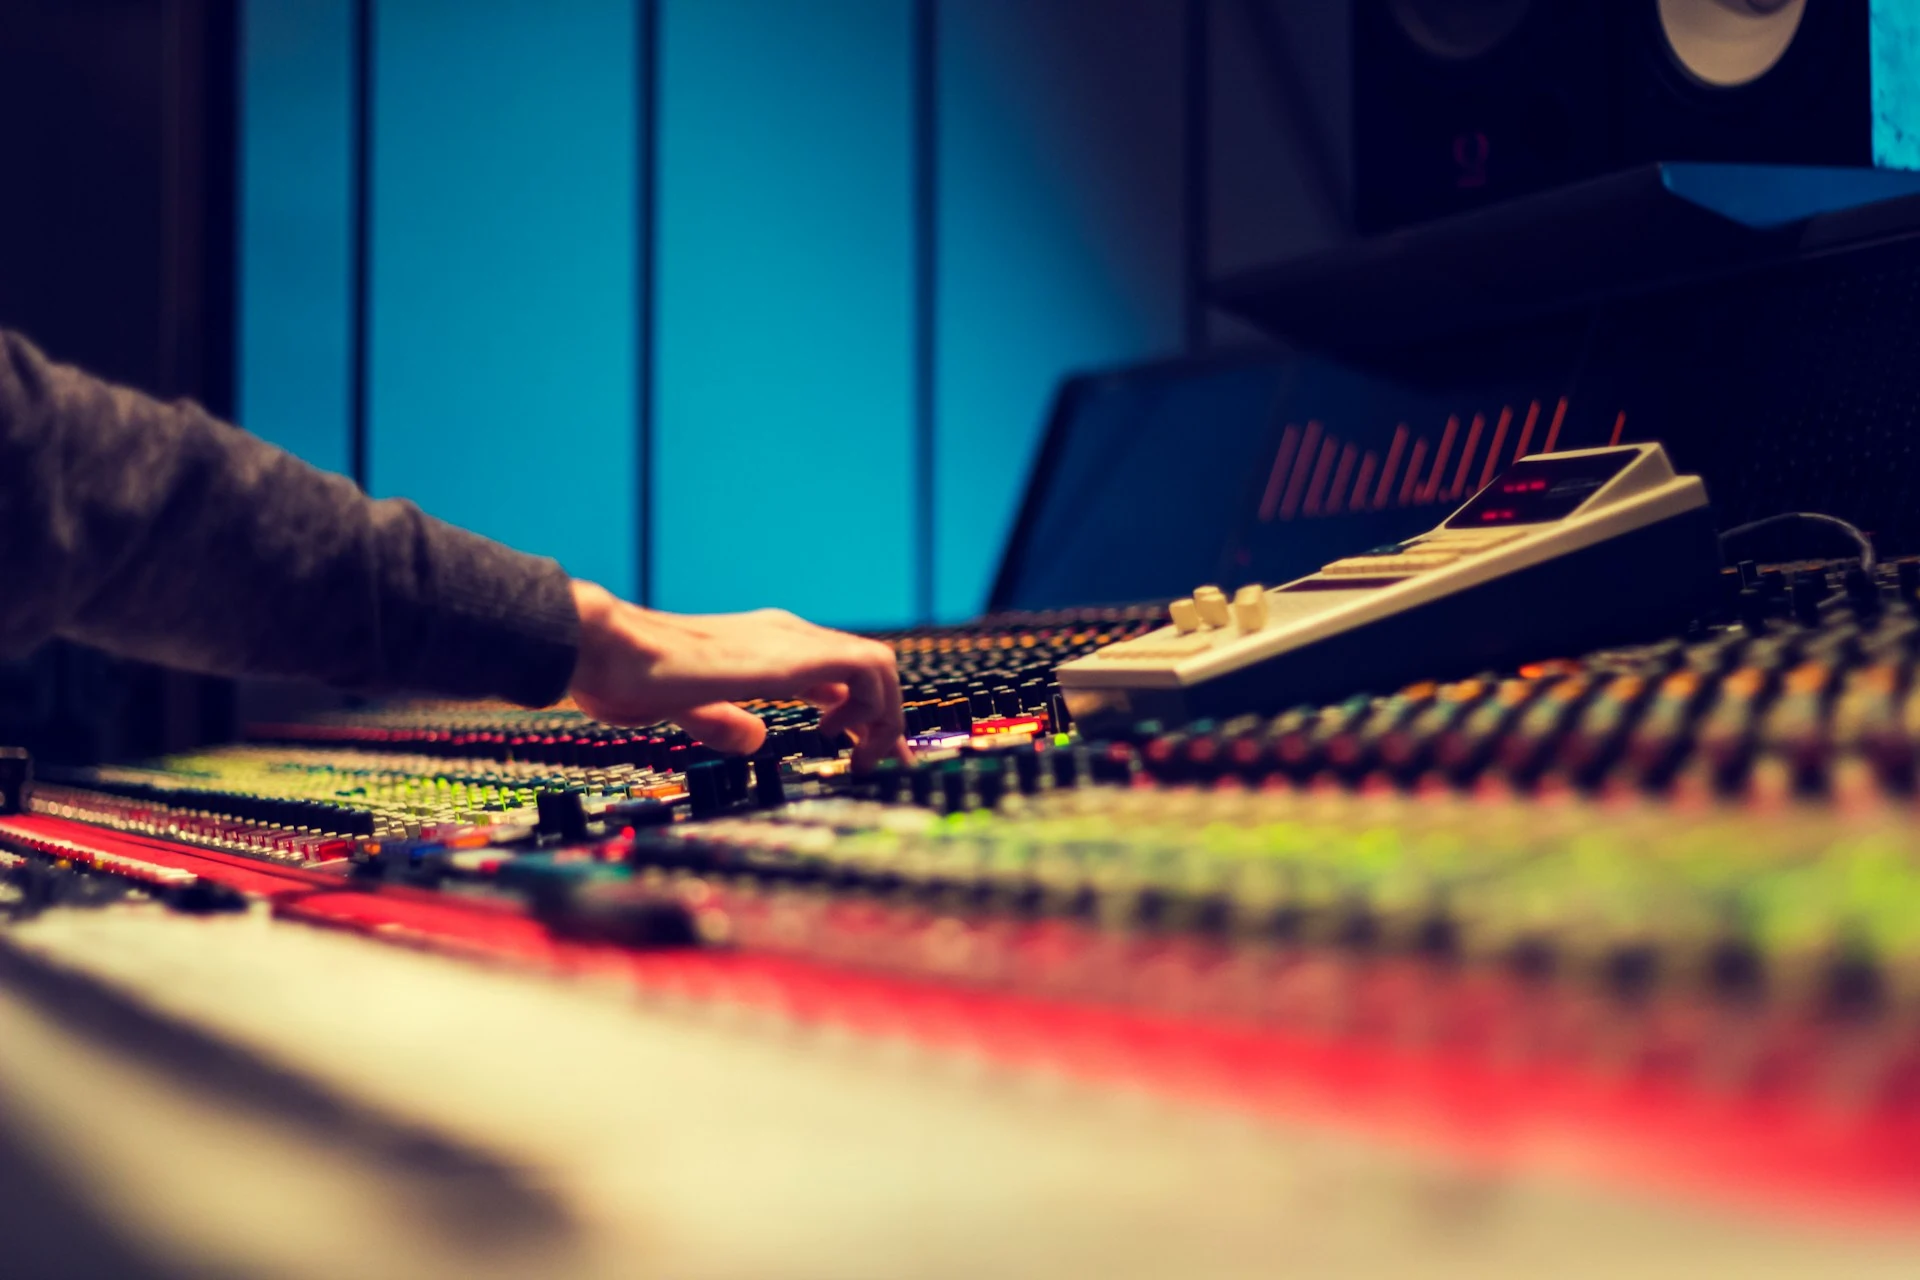
The production of an album is a mix of creative processes and more managerial aspects such as scheduling sessions, establishing the production budget, networking with studio musicians and audio engineers, and scheduling studio sessions. Depending on the project's size, these responsibilities may fall on one person or different production team members.
How to Become a Music Producer
The producer is the head of the team, which will ensure everyone fulfills their role in the production process. Depending on their experience and line of work, they can oversee and make tough decisions to meet deadlines, co-write the songs, and work together with the musicians to deliver the best possible release.
However, a music producer is also an independent artist making music in their bedroom: most producers start this way, and some legendary artists (Four Tet, for instance) prefer to stay away from big recording studios when producing new music.
Regardless of their approach, a record producer must have extensive experience in the music industry to be able to guide the project to success.
But what are the tasks that define the role of a music producer, and how do you learn each aspect of music production so that you can release professional music? Below, you'll find all the necessary steps to bring an international hit to life.
Step 1: Train Your Ears
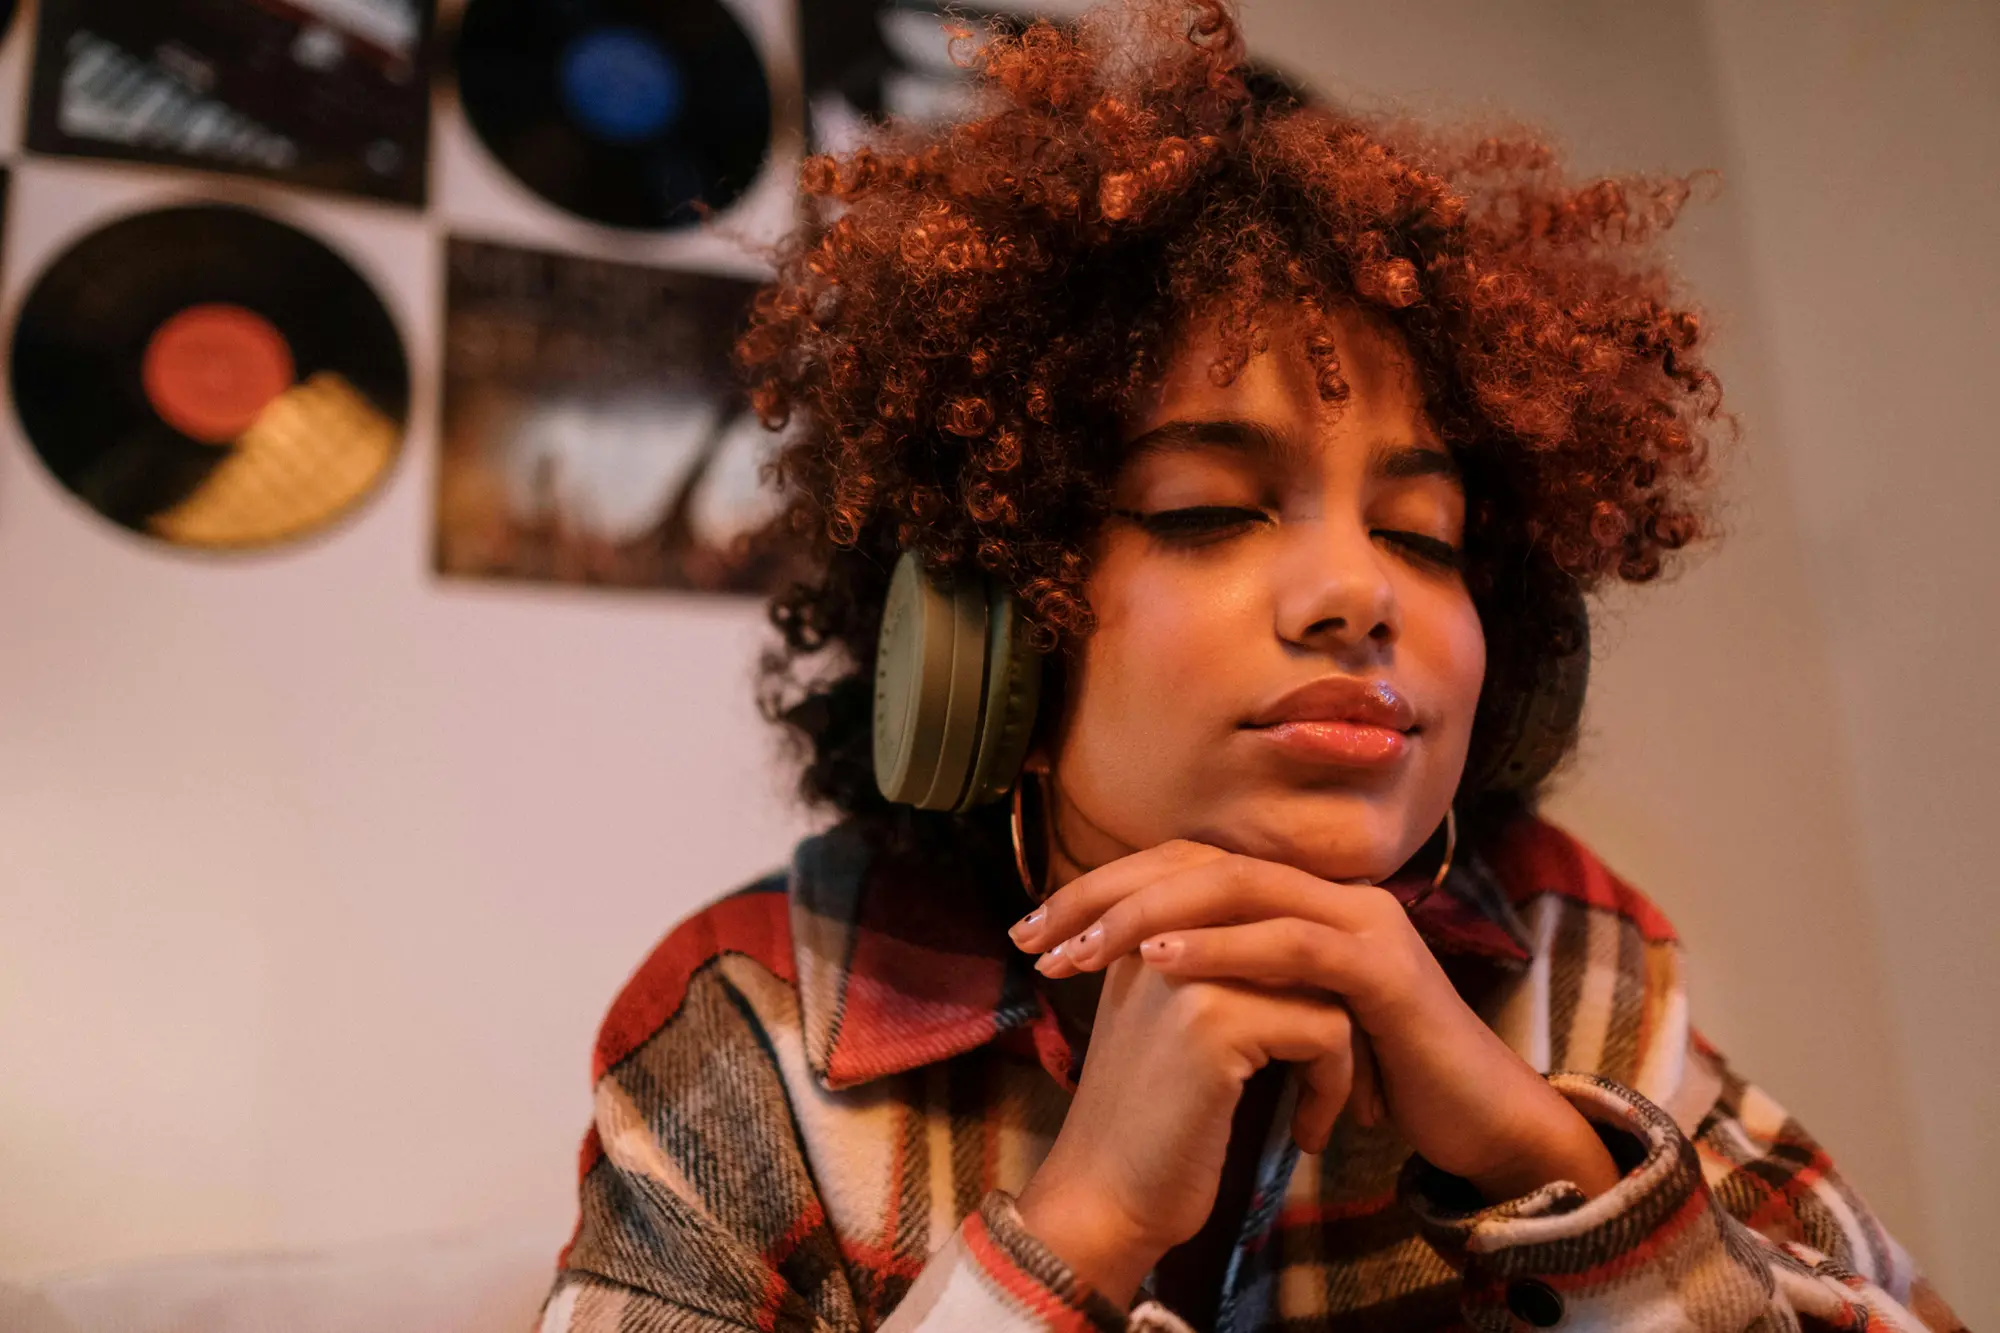
Critical listening skills are paramount when you want to delve deep into the intricacies of sound: from the timbre of each instrument to the spatial arrangement in a mix, a music producer has to be in control of everything happening in a track.
We won't lie: it's a never-ending process and one you'll never fully master. Still, it's also an exciting journey of sonic and self-discovery.
A great way to get started is by understanding the science of acoustics. Sound waves, frequencies, and perceived loudness are all aspects a producer must grasp if they want to record and edit music professionally.
Frequencies define the pitch of a sound, from the low-end bass to the high-pitched trebles. You can use them to create a balanced mix that will sound great across various playback systems.
Perceived loudness is a music concept that defines how humans hear different frequencies at varying volumes.
Our ears do not perceive all frequencies equally at all levels (a phenomenon described by the Fletcher-Munson curves), which is something to bear in mind when mixing and mastering music so that the music sounds good whether it's played on a car stereo, a pair of headphones, or a club sound system. Which brings us to the importance of “neutral” studio monitors and headphones.
These loudspeakers provide an uncolored and accurate representation of the sound crucial for music production, as it allows producers to make decisions based on what's actually happening in the mix.
As you probably know, many headphones and speakers add a certain amount of "coloration," whether it's deeper lows or crispier highs. When producing music, you should look for the most neutral listening environment. Otherwise, you might release music that sounds good with your gear, but not when played through different playback systems.
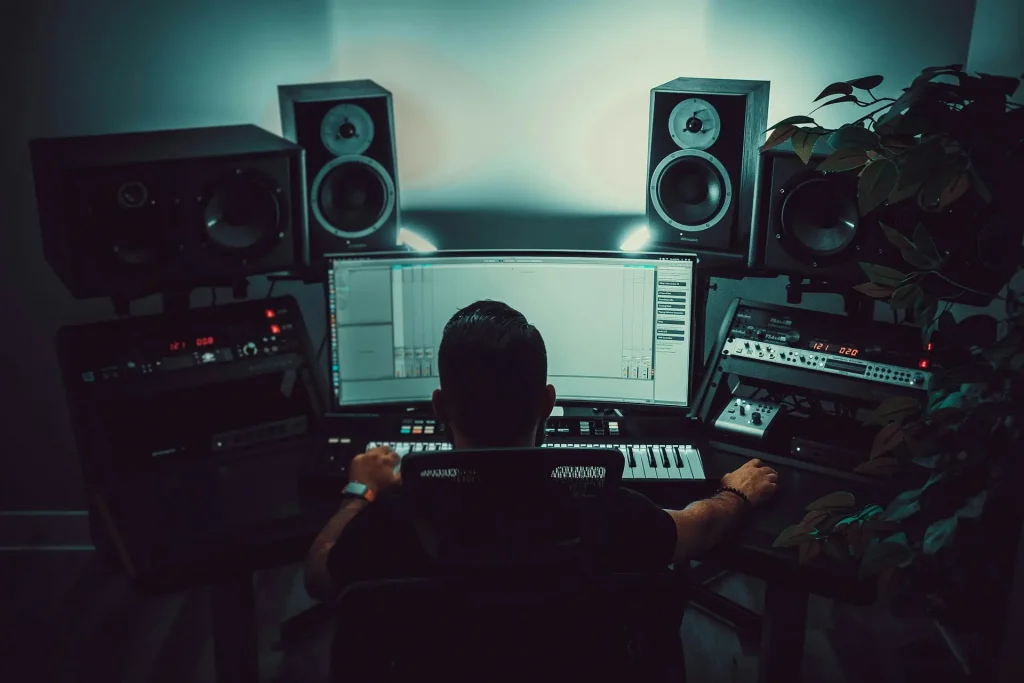
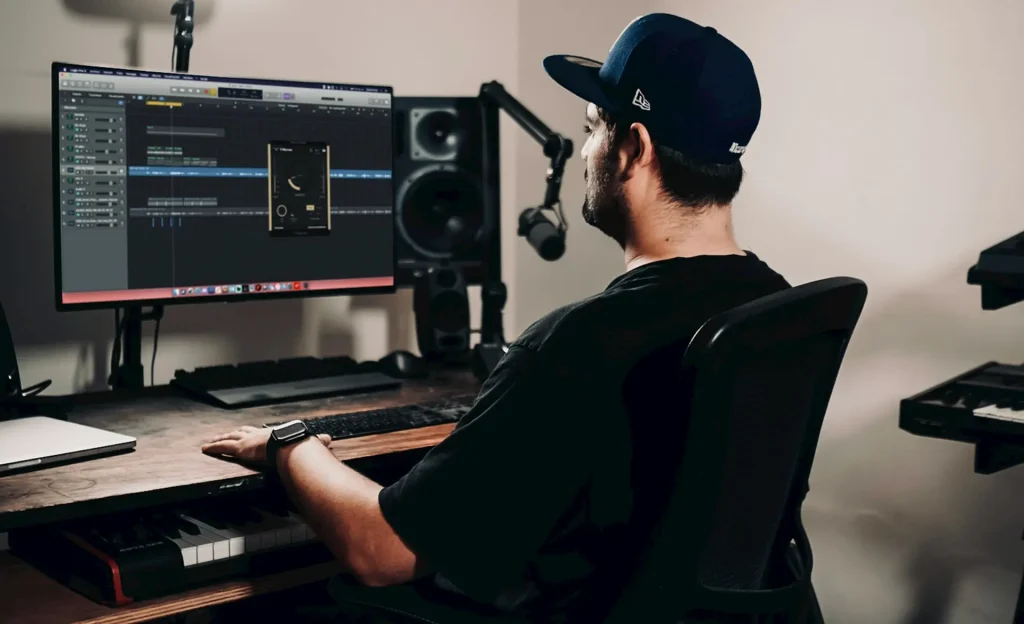
Step 2: Setup a Home Studio
Creating a home studio is an exciting part of making music, allowing you to bring your musical ideas to life without setting foot in a professional (and expensive) recording studio.
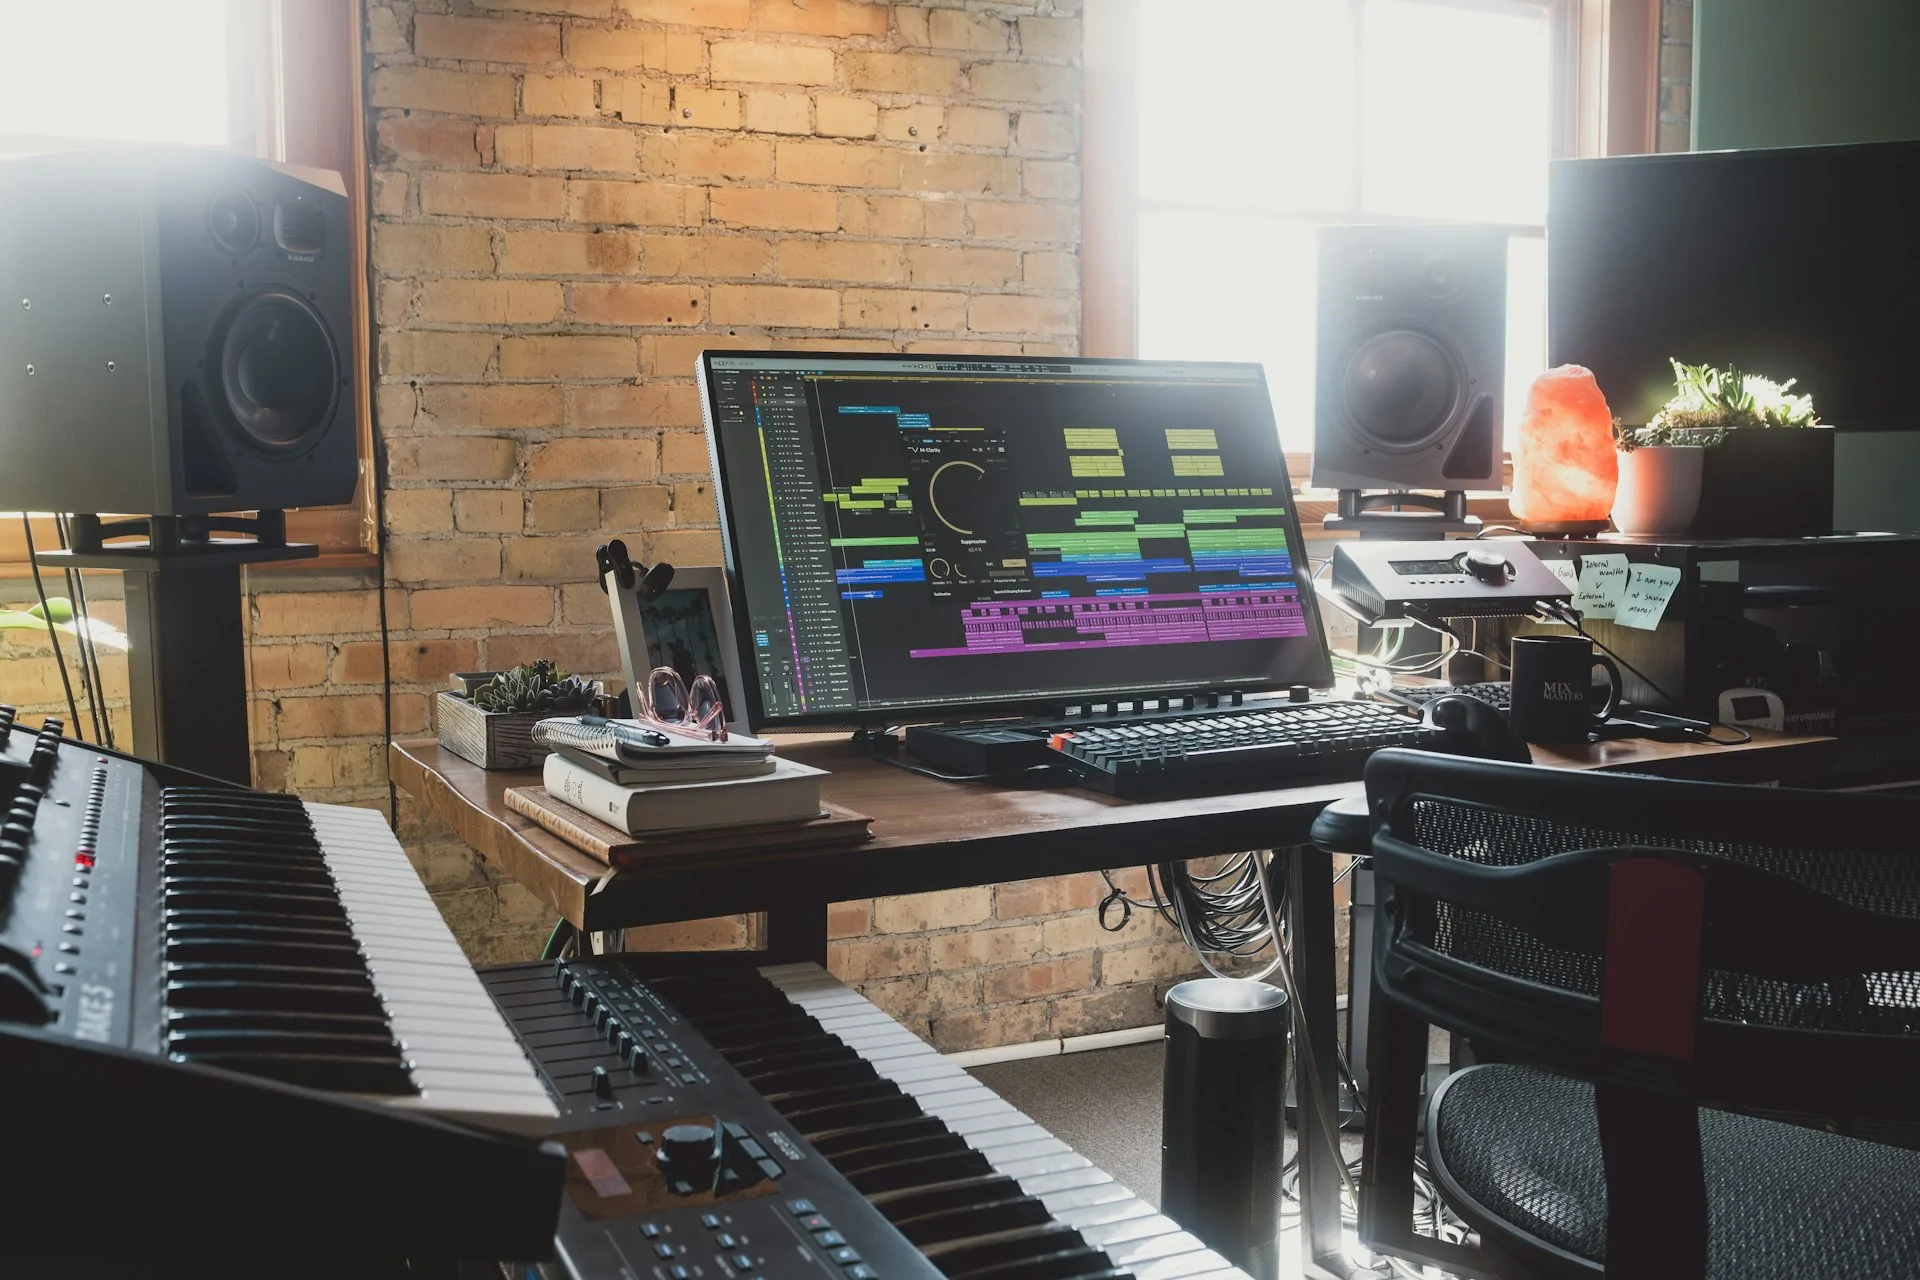
The aim is to set up a space designed for efficient and effective music production. There’s no golden rule when it comes to home studios, but there are certain things you’ll need if you want to release professional music.
Essential Equipment for a Home Studio
Computer: The computer should be powerful enough to run your DAW and all the plugins you’ll need for your tracks. Without getting too much into detail, we'd recommend a computer that has an i5 or i7 Intel processor or similar, plenty of RAM (16GB is ok, but more is better), and SSD storage for faster access to files and plugins.
Audio Interface: It converts analog signals into digital data for your computer and vice versa. Choose one based on the number of inputs and outputs you need and the quality of the preamps. USB interfaces are the most popular, but Thunderbolt interfaces offer higher data transfer rates with less input latency. If you’re just getting started, we'd recommend the Focusrite Scarlett 2i2: great value for money and super intuitive.
Headphones and Studio Monitors: As mentioned earlier, these tools will help you make informed decisions about your mix. You might be under the impression that Dr. Dre mixes music with a pair of Beats headphones, but trust us, that's not the case. Once again, if you're just starting out and don’t want to spend thousands of dollars on gear, our recommendations are Sony MDR7506 for studio headphones (you can find them in all recording studios) and a pair of PreSonus Eris E4.5 studio monitors (the 3.5 are cheaper but you’ll probably need a sub to compensate the lack of low frequencies).
Microphone: You need a good microphone if you’re recording vocals, instruments, or ambient sounds. Condenser microphones are great thanks to their sensitivity and wide frequency response, while dynamic microphones are better for loud sources like guitar amplifiers and drums. Does it sound too complicated? Get started with the best all-rounder ever made, the Shure SM57.
MIDI Controller: A MIDI controller can streamline your workflow, and is crucial if you’re working with virtual instruments. They come in various shapes and sizes, from keyboard controllers to pad controllers, so you should get one that’s in line with your production habits. Options are endless.
Arranging and Optimizing the Home Studio Space
Monitor Placement: Position your studio monitors at ear level so that they'll form an equilateral triangle with your listening position.
Acoustic Treatment: Start with bass traps in the corners and add acoustic panels to walls to reduce sound reflections. Your objective is to achieve a balanced sound in the room and not make it completely soundless. When done right, natural reverb adds a soul to your recordings.
Ergonomics: A tidy working space enhances your creativity and makes you feel better. Choose your desk and chair wisely, and ensure they’re comfortable even after long hours. Keep your cables and gear organized, and spend some time tidying up at the end of each recording session.
Lighting and Vibe: choose lighting and furniture that inspire you, and add anything that puts you in the right mindset to create. Personalize your recording area, make it yours, and add a touch of personality that reminds you this is a unique space and entirely yours.
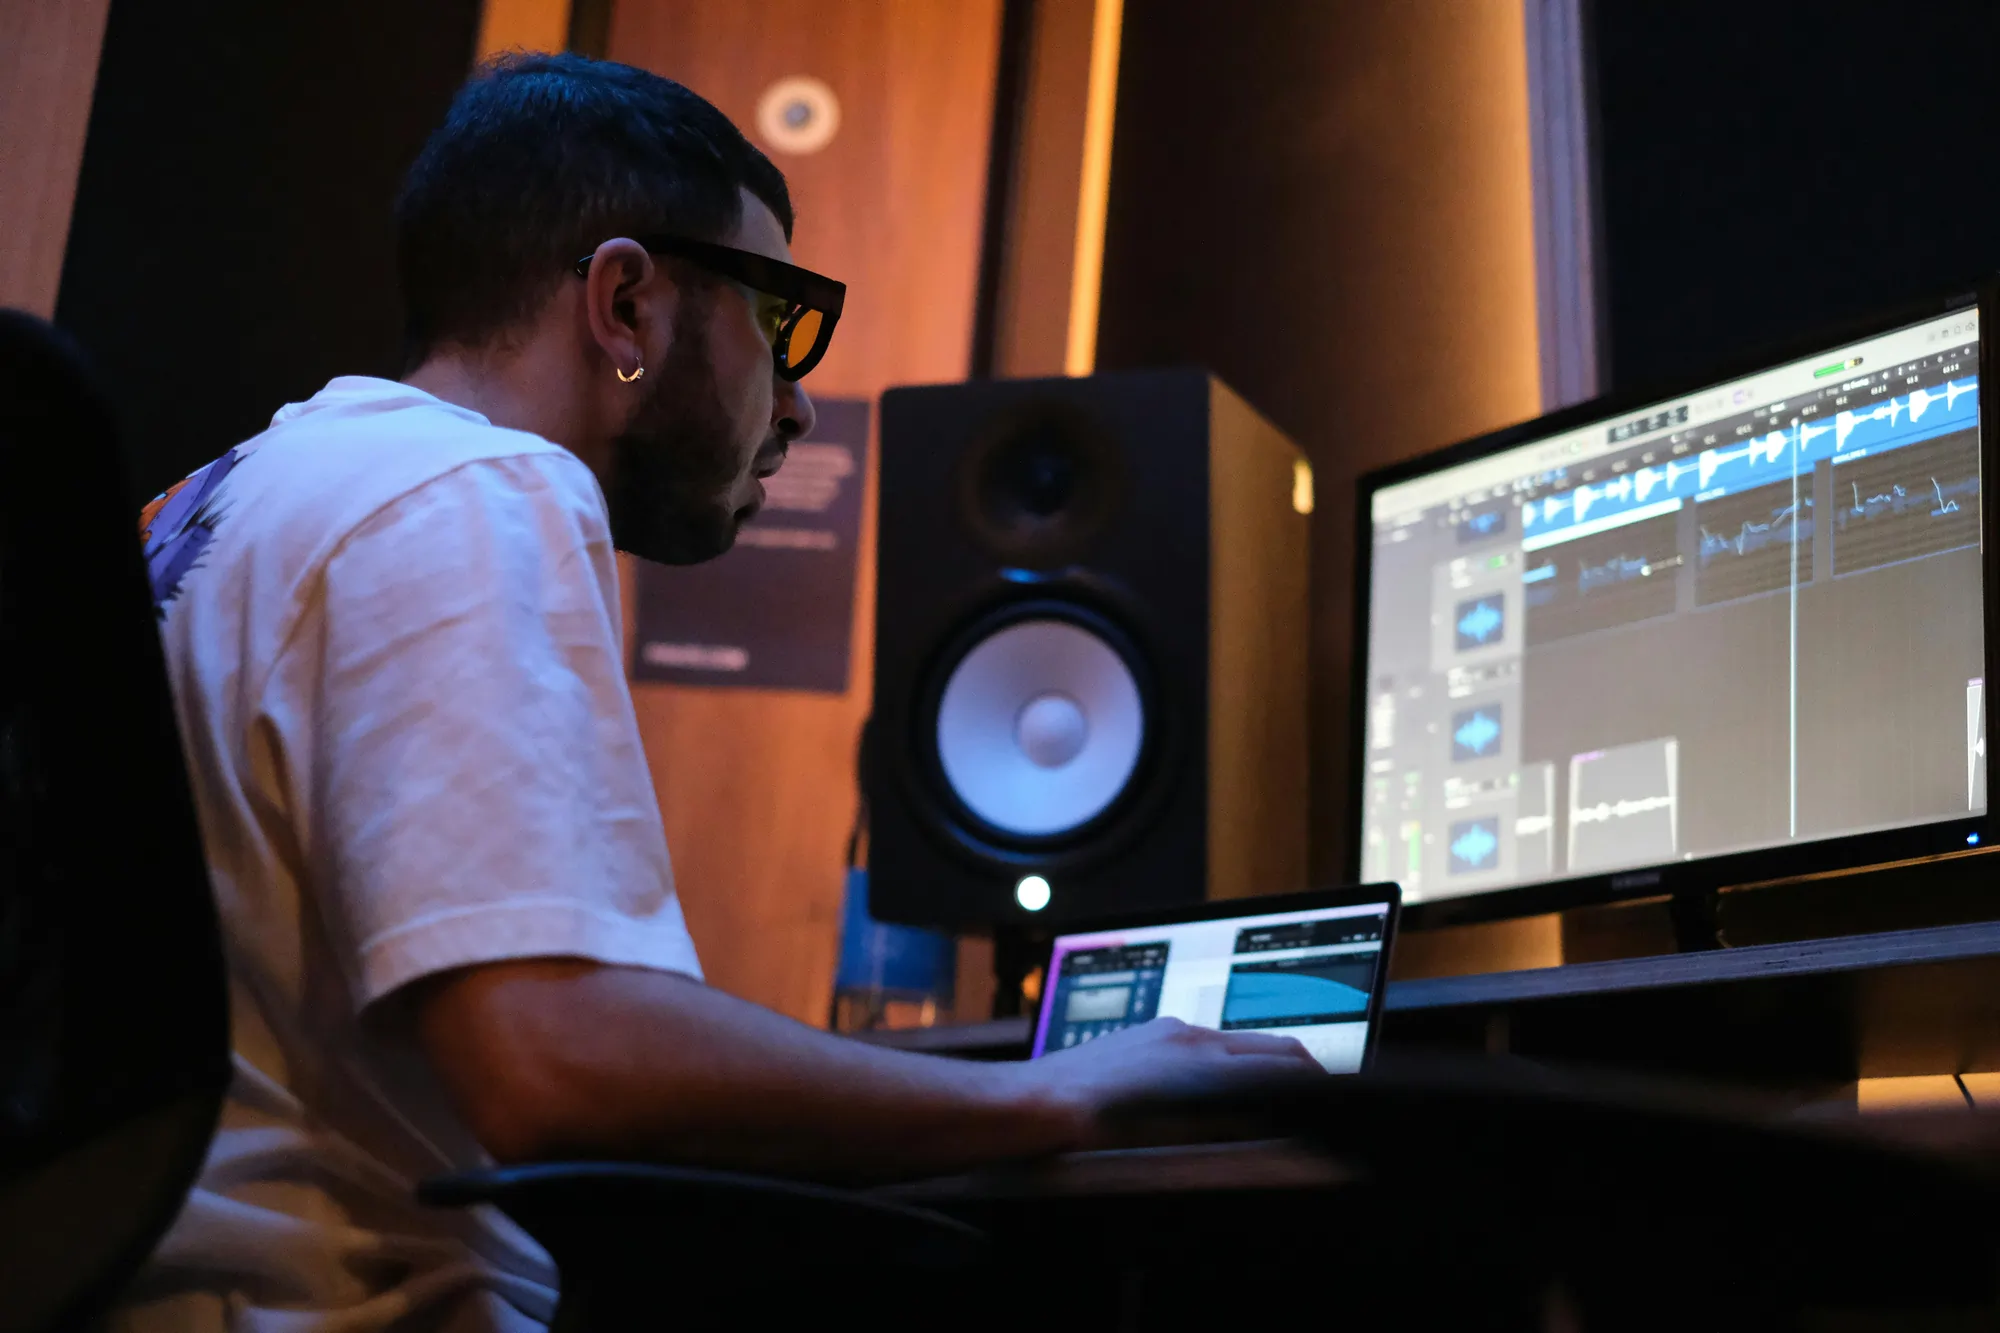
Step 3: Choose and Learn the DAW
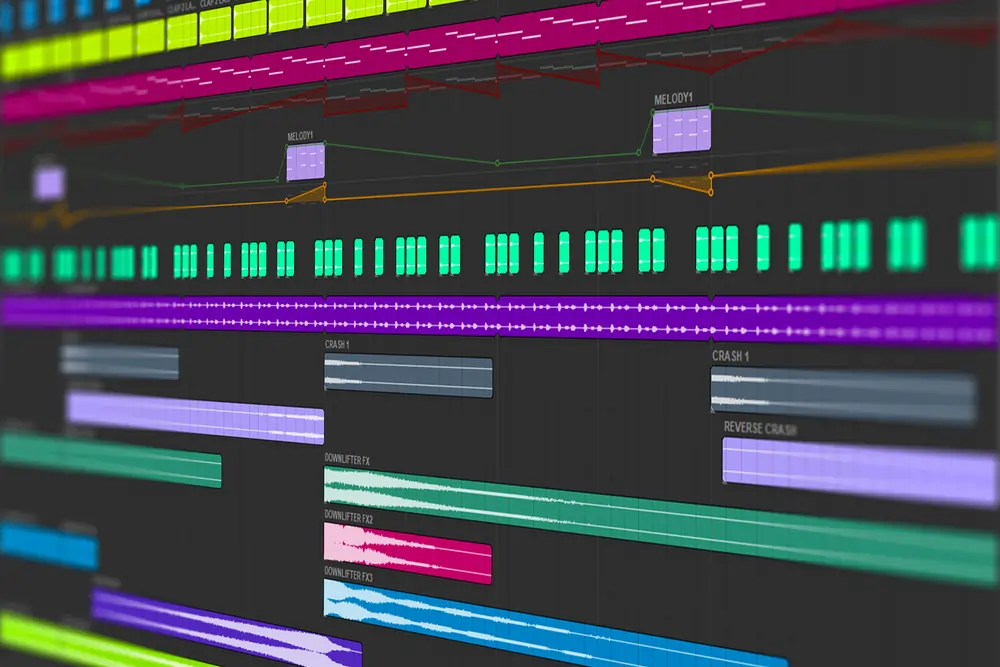
The Digital Audio Workstation (DAW) is your main tool for music production. It's where you'll spend most of your time recording, editing, mixing, and mastering your tracks. Choosing the perfect DAW and learning it inside out is crucial for your success as an artist.
Choosing the Right DAW
When you choose a digital audio workstation (DAW), consider the following aspects:
1. Compatibility: Make sure the DAW works well with your computer and integrates smoothly with your audio interface, MIDI controllers, and other hardware. Check forums and official websites, especially if you already have gear at home that you want to work seamlessly with your new DAW.
2. Music Genre: Some DAWs are ideal for specific genres. For example, Ableton Live is great for electronic music with its loop-based sequencing, whereas Pro Tools is popular among professionals because of its advanced post-production features.
3. User Interface: Choose a DAW with an intuitive interface that suits your workflow. A non-intuitive interface can slow down your creative process, so try out trial versions to find the right fit.
Here’s some info on the most popular DAWs:
Ableton Live is great for live shows and making electronic music because it's easy to use and lets you work with sounds and music notes. It's best for electronic, dance, and experimental music.
FL Studio is good for making beats and arranging music because it's easy to use and has a lot of sounds you can use. Despite its recent evolutions, some people still find it hard to mix music in FL Studio. It's great for hip-hop, EDM, and pop music.
Logic Pro has a lot of tools for recording and making music, and has perhaps the most intuitive interface you can find. But you can only use it if you have a Mac computer. It's good for any type of music.
Cubase is an iconic DAW that works magnificently when it comes to complex, multi-layered projects, but the learning curve can be quite steep. It's best for making music for movies, classical music, and other complex projects.
Studio One is a powerful and versatile DAW but it requires some time to get used to the unconventional interface. It's ideal for many types of music, especially for people who write and perform their own songs.
Reaper is a great option if you’re on a budget or want to personalize the interface of your DAW, which is something you can’t do on any other workstation, at least at such a level.
Reason is great for making electronic music and for creating your own sounds from scratch.
Bitwig Studio is popular among people working in the fields of electronic, ambient, and experimental music. It’s a reasonably-priced DAW that has everything bedroom producers need.
GarageBand is easy to use and has a rich sound library, so it's great for people who are new to making music. But if you want to work on more complex projects, you’ll have to switch to Logic Pro. It's also only available for macOS.
Mastering Your DAW
Learning your DAW is an ongoing process that evolves with your skills.
Get started by learning where everything is located, from the main windows to toolbars and shortcuts. If you can, customize the interface to suit your workflow.
Take some time to understand how recording, editing, mixing, and exporting are done, as these are fundamental processes you’ll use in every project. Explore the built-in instruments and effects that most DAWs come packed with.
There’s only one way to learn all this, which is to make music regularly, paying attention to how you can streamline your workflow and enhance your creativity.
Pro Tips
Mastering advanced features in a DAW is what separates amateurs from professional producers. Once again, this is an ongoing process, but here’s what we think can make a difference as you take your artistry to the next level:
Learn how to automate volume, pan, effects, and other parameters to add dynamics to your tracks through automation. Next comes comping, time-stretching, pitch correction, and other editing tools to refine your recordings.
Post-production tips: learn how to use equalization, compression, reverb, and other mixing tools to balance your tracks and create a cohesive soundstage.
Finally, making the most of your DAW to improve your workflow is about creating personal templates with your most-used instruments and effects, organizing your sample libraries for easy access, and learning keyboard shortcuts to speed up your process.
Step 4: Learn Instruments
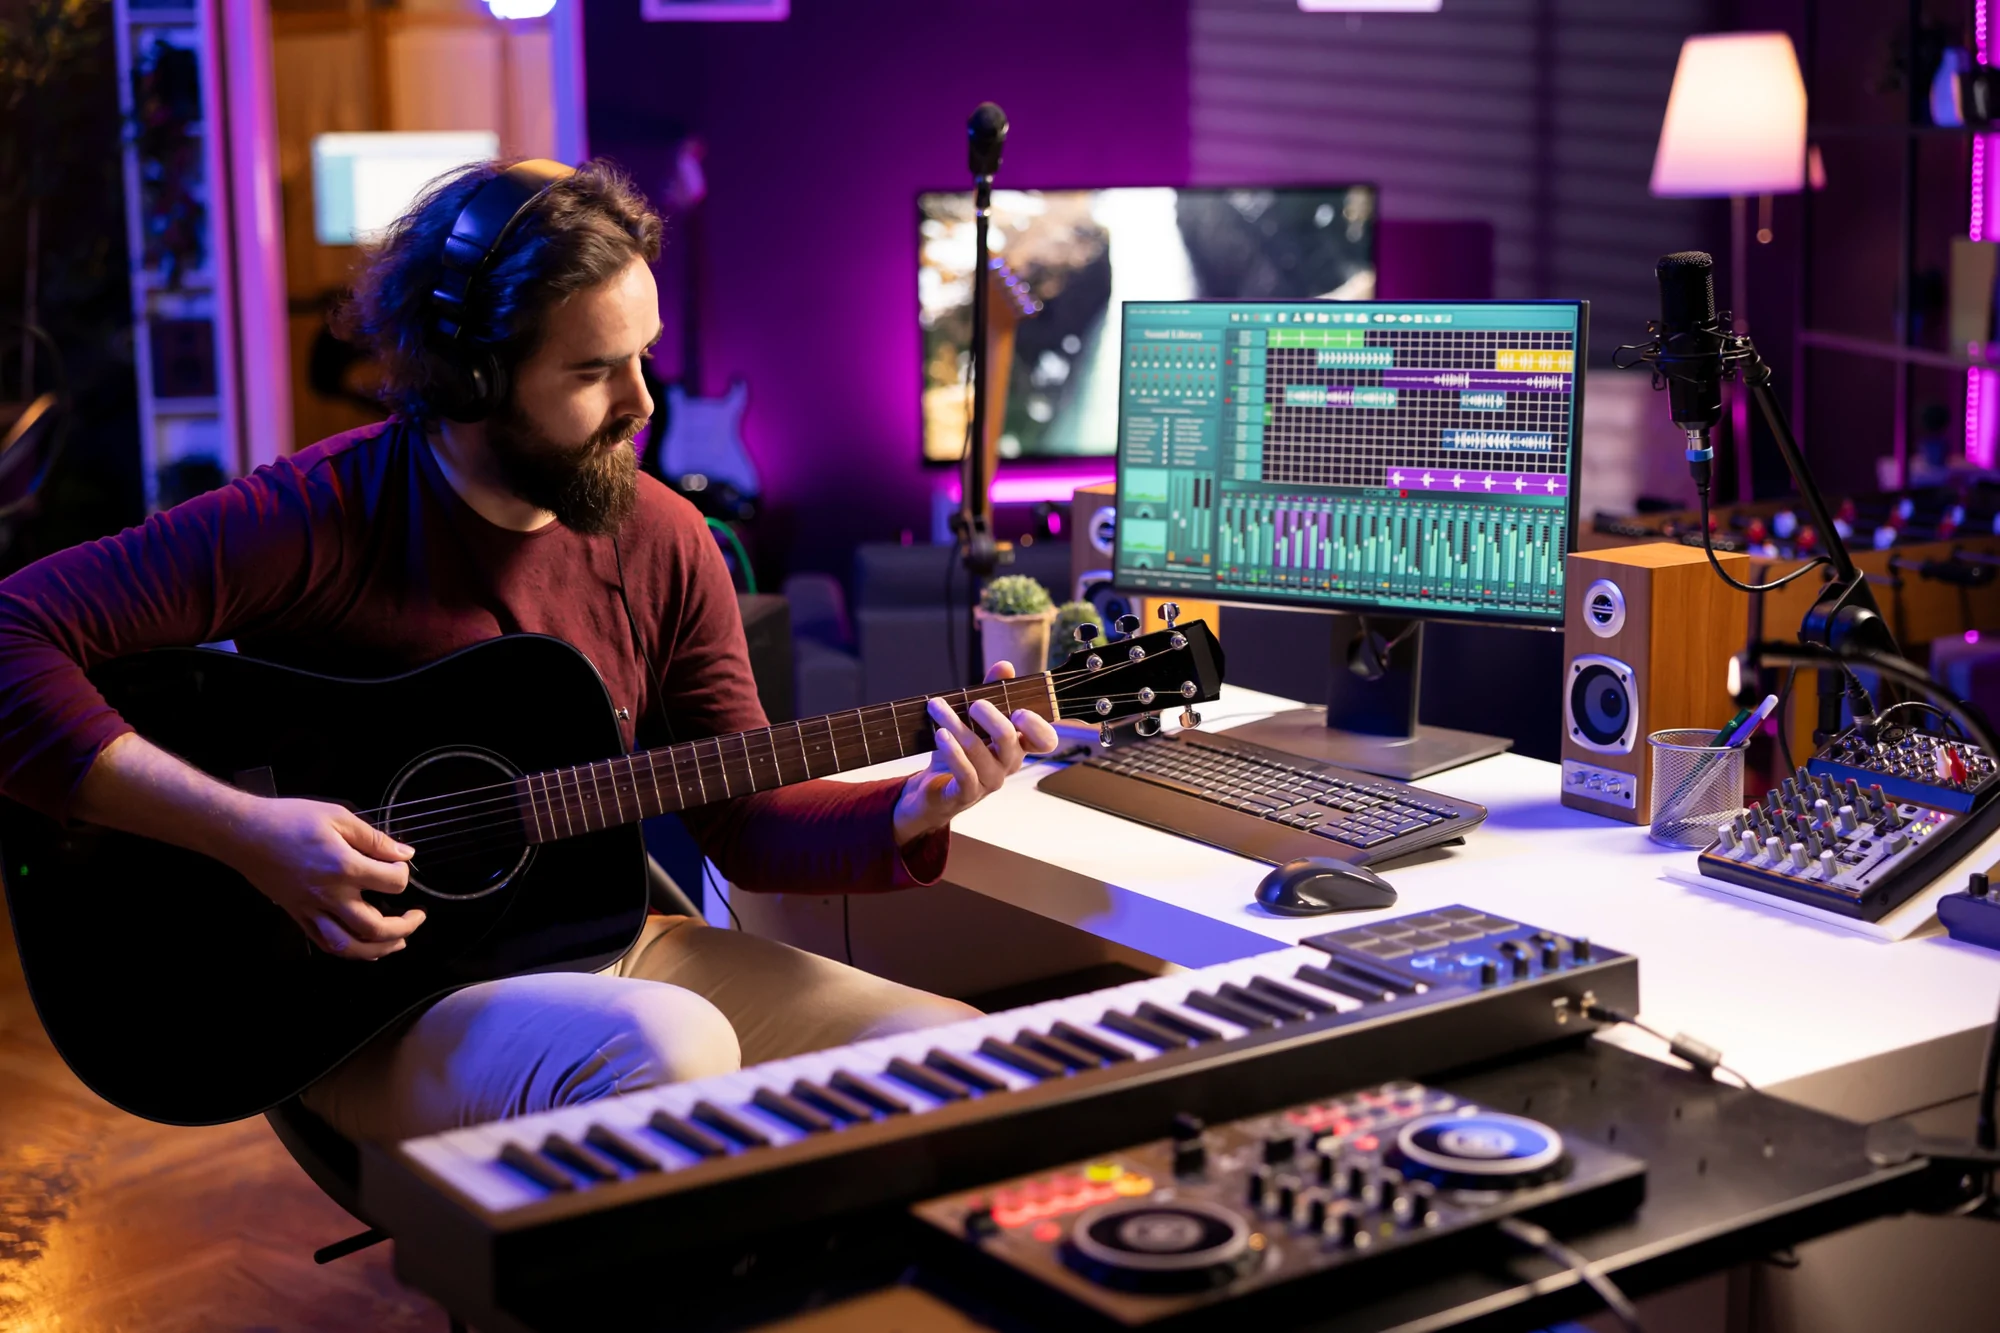
This shouldn’t come as a surprise. Learning how to play an instrument gives you a deeper understanding of how to craft unique melodies and compositions, regardless of the genre you focus on.
It’s good to start with instruments that are easy to pick up. For instance, learning the piano can help you grasp music theory basics such as scales and chords. Producers can apply the skills acquired on the keyboard in digital music creation, using a MIDI controller and bringing their ideas to life through their DAW.
The guitar is another great option. Be it acoustic or electric, a guitar not only teaches melodies and rhythms but can also be great for songwriting.
Drums, or any kind of percussion, will help you understand the intricacies of rhythm and craft better beats. Think about Pharrell Williams’ works over the decades: his catchy beats are the result of years of practicing the drums.
As you become more proficient, you’ll be able to explore the endless possibilities of digital music production through plugins and special effects, defining your unique sound signature and creating tunes that sound professional without stepping into a recording studio.
Step 5: Learn Music Theory and Its Application
No one really likes it, but there’s no doubt that understanding the fundamentals of music theory provides producers with the tools to create better music. Many avoid studying music for many years, but it can become more difficult later on, so try to get started ASAP.
While we won't delve into every aspect of music theory in this article, below I'll describe some of the most common concepts in music theory and redirect you to some of our articles to find out more about specific topics. Check out the links below to learn more about each element of music production.
Music Theory Concepts
Timbre: Timbre, also called the "color" or "texture" of music, is the distinction between one sound and another when they have the same pitch and loudness.
Chords: Chords are the harmonic foundation of music. A combination of three or more notes that bring to life a unique sound texture.
Rhythm: Rhythm defines the tempo, beat, and timing of a piece, influencing its energy and flow.
Dynamic Range: Dynamic range is the contrast between the loudest and softest parts of a piece, which adds emotional depth and variation to music.
Composing is the process of creating music using melodies, harmonies, rhythms, and structures.
Arranging is the art of transforming existing musical compositions to suit a particular performance or ensemble, whether it’s by modifying the orchestration, reharmonizing, adjusting the structure, or adapting the piece for different instruments.
Songwriting is the skill of composing both lyrics and music for a song. It’s a process similar to composing, although songwriting has an emphasis on the vocal and lyrical aspects of music.
We could go on forever, but these are the main concepts to get started and dive into the world of music production.
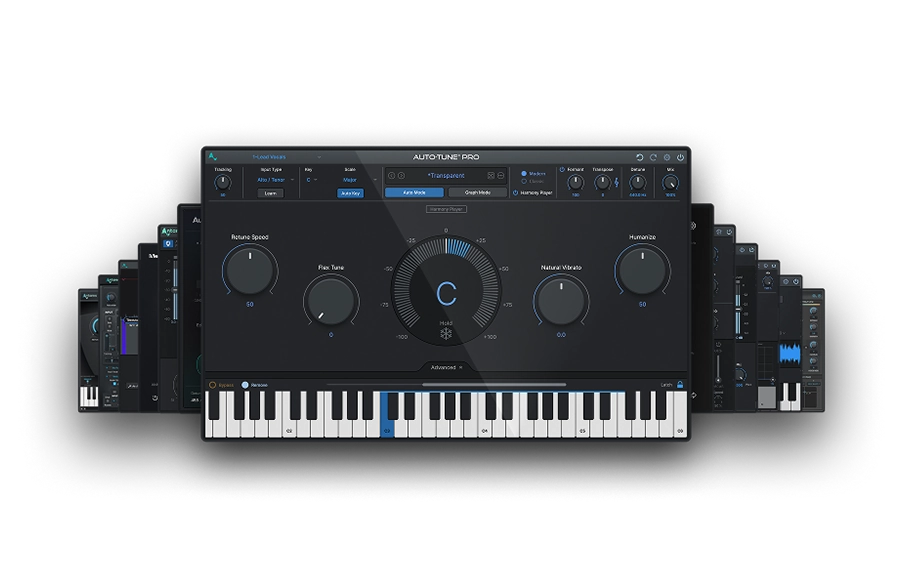
AutoTune Unlimited
The Ultimate Vocal Production Suite
Step 6: Practice Songwriting and Arranging
To a new music producer, prolific and talented artists may seem to effortlessly develop new songs. That’s usually quite far from the truth.
Becoming a skilled songwriter involves a combination of creativity, skills, and experience: crafts that are honed over time. Writing better songs is a process of relentless research and dedication, and in this section, we’ll take a look at how you can improve as a songwriter.
Hone your Songwriting Skills
Regardless of genres and styles, songwriting is about telling stories, expressing emotions, and connecting with people. It’s easier said than done, but there’s only one way to get started: to emulate what others did before you.
Study and understand the structure of songs you love or songwriters you admire, and you’ll realize there’s a certain balance (between different emotions, repetitions, and variations) that keeps listeners hooked.
Absorb the secrets of the great songwriters, and translate them into your unique sound signature; because songwriting is not about merely copying but about being inspired by what others did to create something new.
Exploring Song Structures
There’s much more than the classic verse-chorus-verse.
Each part of a song can help you build the narrative of your song, and understanding how each of these elements can create a vibe is a crucial step in music composition.
There’s no golden rule when it comes to song structures, and while your audience might be accustomed to certain structures more than others, that doesn’t mean they won’t enjoy something different. What matters is bringing to life a cohesive composition that resonates with your feelings: if your music is genuine, your fans will appreciate the honesty of your songwriting, regardless of its structure.
Arranging Techniques
Arranging your music is how you present your song. You might have written a piece using only guitar and voice, but adding strings and electronic textures might make it more immersive and poignant, which is how music producers help create unforgettable songs in the studio.
Choosing the right instruments, defining their roles in the soundstage, and how they should affect the song’s emotional core are all aspects that should be decided before finalizing a track.
The Importance of Regular Practice
This is perhaps the most crucial aspect of the life of every musician.
What does it mean to practice? If you’re a piano composer, the concept is quite clear. But what if you’re a beatmaker? Can you practice beatmaking?
It’s all subjective, but one thing is certain: practice means honing your skills regularly, never assuming that you’ve reached the peak of your knowledge or abilities, and challenging yourself.
The most talented artists (who are not necessarily the most famous ones) practice every day, and so should you if you want to become successful in your music field.
Songwriting Tips
We published an in-depth article about songwriting tips not long ago, so check it out if you want to learn more tips to improve your songwriting skills.
Aside from natural skills, songwriters need just a few things to bring their ideas to life: a quiet environment, professional recording gear, and a journal to capture your ideas on the go.
Your recording studio is your sanctuary, and you should treat it as such: keep it clean, organized, and ready for your recording sessions. If it takes 20 minutes to set it up every time you want to record something, you’ll struggle to find the time and will to compose.
Professional recording gear, customized to enhance the beauty of your music, will help you define your artistic vision. You don't need thousands of dollars worth of gear: a DAW, an audio interface, and a microphone will do just fine.
Finally, if you're just starting out, I'd recommend you keep melodies simple and focus on strong, evocative notes to ensure they’re catchy and effective. A strong melody can elevate your song from good to unforgettable.
Step 7: Find Artists to Work With
Collaboration in the digital era is an unmissable opportunity to learn, discover, and be discovered. When done right, it can skyrocket your career overnight, something none of the tips mentioned in this article can do as effectively (except social media).
Here's how you can find collaborators who complement and challenge your musical journey.
Why is Collaboration important?
Learn New Techniques: Every artist has a unique set of skills and knowledge. Collaborating helps you learn other people’s approaches to songwriting, production, and arrangement, which you can use to improve your skills.
Expand Your Musical Horizons: Working with artists from different genres or backgrounds can ignite new ideas and encourage you to break out of your comfort zone.
Build Your Network: Collaborations can maximize your fanbase, help you reach a new audience, and help you be introduced to new people in the industry,
Networking Tips
It’s easier said than done. How do you actually collaborate with other artists, and where are these artists willing to collaborate? Here are a few suggestions to get started.
Music Collaboration Platforms: Websites and apps designed specifically for music collaboration can connect you with artists worldwide. BandLab, SoundTrap, and the good-old Soundcloud are the first few that come to mind, but there are at least a dozen global platforms you can use to expand your music network.
Join Online Communities: Online forums, social media groups, and music production websites are valuable resources for connecting with other musicians.
Live Performances and Open Mics: Sometimes you can find great collaboration opportunities offline. Open mic or jam session nights can help you meet local artists looking for production partners or collaborators.
Music Production Events: Workshops, seminars, and music festivals are great places to meet fellow artists and producers and offer networking opportunities with like-minded musicians.
Social Media
In the digital era we live in, careful social media planning can lead to overnight success. There’s no golden formula here, except that you should be present on all platforms where your audience might be: TikTok, Instagram, X, Facebook, but also Spotify, which gives plenty of tools to communicate with your fans.
Knowing the right hashtags, checking metrics and results, and crafting excellent content are all valuable tips, but most importantly, try to be genuine when interacting with your audience, and don't push too hard: 100 loyal fans are better than 10000 occasional listeners.
Step 8: Master the Production
Every genre comes with a different approach to music production, but they all have one thing in common: the music production steps required to create a new piece of music that meets the industry standards.
In short, these steps are recording, editing, mixing, and mastering. Let's describe each one of them and understand what makes them crucial in the production process.
Recording
This is quite self-explanatory: recording is the act of capturing sounds that can later be edited digitally (unless you're the analog type).
Before recording, you should make sure all instruments are properly tuned: fixing an instrument that’s out of tune during post-production is a painstaking process. Set the right volume levels before recording to avoid clipping and ensure a clear result. To do this, check the sound through headphones or studio monitors.
The place where you record has a huge impact on how your music sounds. Make sure the area is quiet and free of echoes by adding things like foam panels or bass traps, which will improve how your recordings sound.
Choose the right microphone and where to put it. For instance, condenser mics are great for picking up the fine details in voices and acoustic instruments, while dynamic mics work well for louder sounds, like electric guitars or bass drums.
Editing
After you're done recording, the next step is editing, which is essentially the process of making your raw recordings sound better.
In short, here’s how to do this:
Combining Takes: If you record a part multiple times, here’s when you pick the best bits from each take and put them together into one perfect track.
Cleaning Up: Now is the time to remove any unwanted sounds, like background noise or breaths, and add fades to the beginning and end of tracks to ensure they start and end smoothly.
Fixing Timing: Your DAW can adjust timing mistakes, making sure everything is perfectly on time, and this is something producers do during the editing phase. This process is called quantization.
Correcting Pitch: If there are any off-key notes in the vocals or instruments, tools like Auto-Tune can fix them.

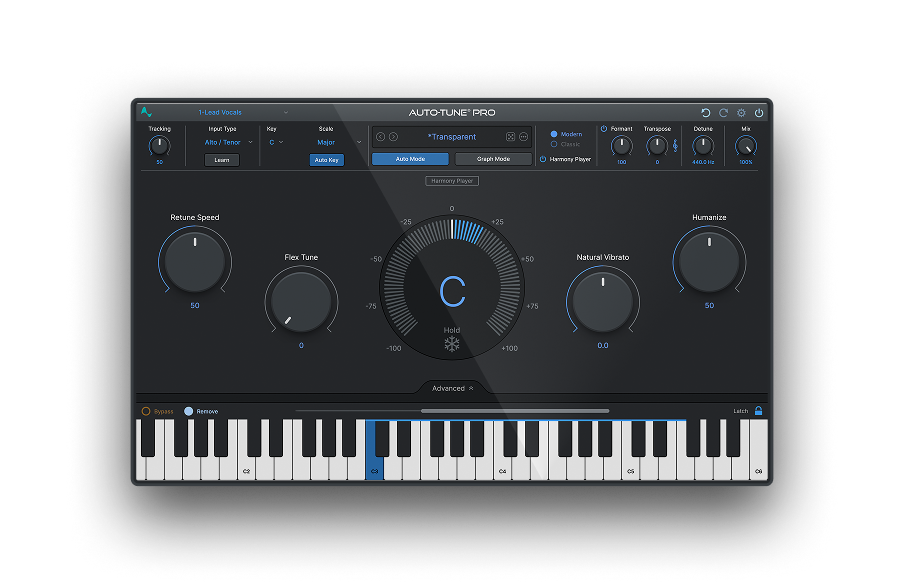
AutoTune Pro
The Professional Standard for Pitch Correction
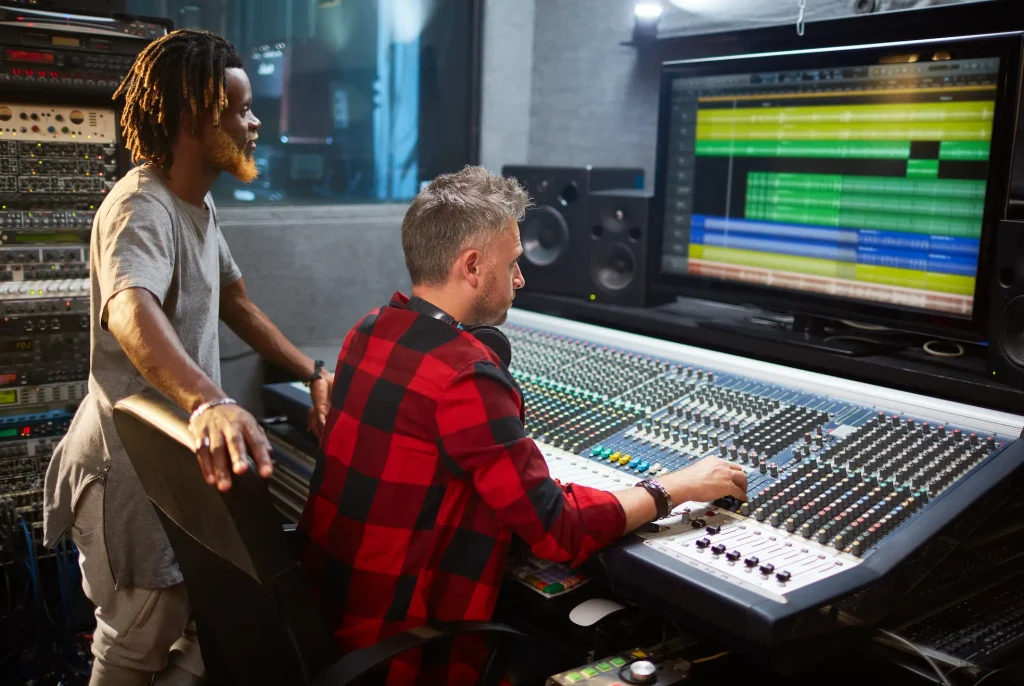
Mixing
After the initial recording and editing stages, mixing is the next critical step in the production phase. This is when you blend all the individual tracks in your project to create a cohesive and balanced piece.
Mixing is where you adjust levels and pan instruments across the stereo field, apply equalization (EQ) to clear up frequency conflicts, and add effects like reverb and delay to enhance spatial depth.
This rather delicate process requires a good ear and an understanding of how different elements of a track interact with each other. The goal of mixing is to make sure that every part of the song works together cohesively, enhancing the song's dynamics and emotional impact.
Mastering
Mastering is the final stage of the production process. It’s the process that makes your song play at its best across all playback systems and streaming services, from high-end stereo systems to smartphone speakers.
There are certain standards in music production in regards to loudness levels and overall audio quality, and the role of a mastering engineer is to ensure your song meets those requirements, and will sound professional regardless of how listeners experience it.
In short, mastering engineers strive to balance the overall EQ, enhance consistency across an album, and achieve industry-standard loudness levels without compromising dynamic range.
This process also includes preparing the final master for distribution, which is the topic of the upcoming final chapter.
Step 10: Distribution
Well done, your song is ready to be released!
But how do you publish a song so that people can actually find it in their streaming service of choice?
Once again, music distribution can be an overwhelming topic, especially if you just started your music production journey. We'll keep things simple and explain every step to get your music out there in the simplest way.
Album Artwork
The artwork is your music's business card and likely the first thing people will see when they find your music in digital or physical stores.
Album artwork is crucial even in this digital age, so whether you design it yourself or hire a professional graphic designer, make sure that your artwork resonates with the themes of your music and stands out on digital platforms.
Marketing Strategies
There are countless examples of creative marketing strategies for music, but if you’re looking for a clear, straightforward strategy you can start with and customize our time, here are my recommendations:
Proper Planning: Start from the release date and work backward to create a realistic marketing strategy that’ll keep your fans engaged until the big day.
Social Media Campaigns: Use platforms like Instagram and TikTok to share snippets of your music, behind-the-scenes content, and the story behind your project.
Email Newsletters: Keep your most dedicated fans updated with exclusive previews, release dates, and personal insights into your music creation process.
Music Videos and Visualizers: Create visual content that can be shared across YouTube and social media to reach a wider audience.
Collaborations: Partner with other artists or creative projects in line with your style and audience.
Distribution Services
Nowadays, many distribution services offer more than just uploading tracks: they provide promotional tools, playlist pitching, and insights into how your music is performing across different platforms.
So how do you choose one? Some of the most famous music distribution services are DistroKid, TuneCore, and CD Baby. They all offer slightly different services that might suit you best, so my recommendation is to spend some time analyzing their offer and see which one is more in line with your needs.
Check their yearly subscription fee, percentage cut, upload times, and whether they offer the possibility to split revenues, which is crucial if you’re collaborating with other artists.
Ultimately, the difference between them is quite minimal. They all provide efficient stats, fast upload times, and additional services to help you scale up your career. Still, do your research, choose one, and if you're not happy with it, switching to a different distributor is usually a simple process.
How To Learn Music Production
The most crucial skill a producer needs is music knowledge, which means understanding how music affects moods and how instruments and frequencies are interconnected. It's not essential to know how to play an instrument now that you can use digital tools to create music, but you should have a basic understanding of music theory.
Another skill you need as a producer is leadership and communication skills because you will supervise and direct others on what needs to be done.
To learn music production, you can take online courses from websites like Udemy or MasterClass that offer lessons from producers such as Timbaland, Alicia Keys, and Deadmau5.
College and University programs are excellent options because they offer in-depth programs. The Berklee College of Music offers a program focused on music production and other aspects of the music industry. It offers on-campus programs in Boston, New York, Valencia, Spain and online programs for international producers.
You can also work with a local music producer as a trainee and learn music production with them; this will help you expand your network and get to know other musicians and producers in your area.
Good luck!
AutoTune Unlimited
The Ultimate Vocal Production Suite

Exclusive AutoTune Content

AutoTune Pro

AutoTune Unlimited
AutoTune 2026 and Metamorph
Now Included

Antares Editorial
Antares is a leading developer of software for music recording and live performance. For over 20 years, Antares has powered the music of top-charting and indie artists with products including the industry standard for pitch correction, AutoTune™.